How to Access the Refund System
- From the Dashboard, go to Results and then click All Transactions.
- Next, find the transaction that you would like to refund.
- Type the purchaser’s name, email, or checkout ID into the search bar.
- Click the 3-dots on the right and click Issue Refund.

Note:
Attendees cannot be deleted and tickets cannot be converted. If you need to remove an attendee, you must issue a refund. Once refunded, the attendee will no longer appear in your Check-In tool.
How to Issue a Full Refund:
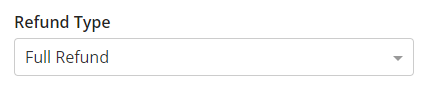
- From the Refund a Checkout page, review the checkout details to see the amount eligible for refunds.

- Under refund type, select “Full Refund”
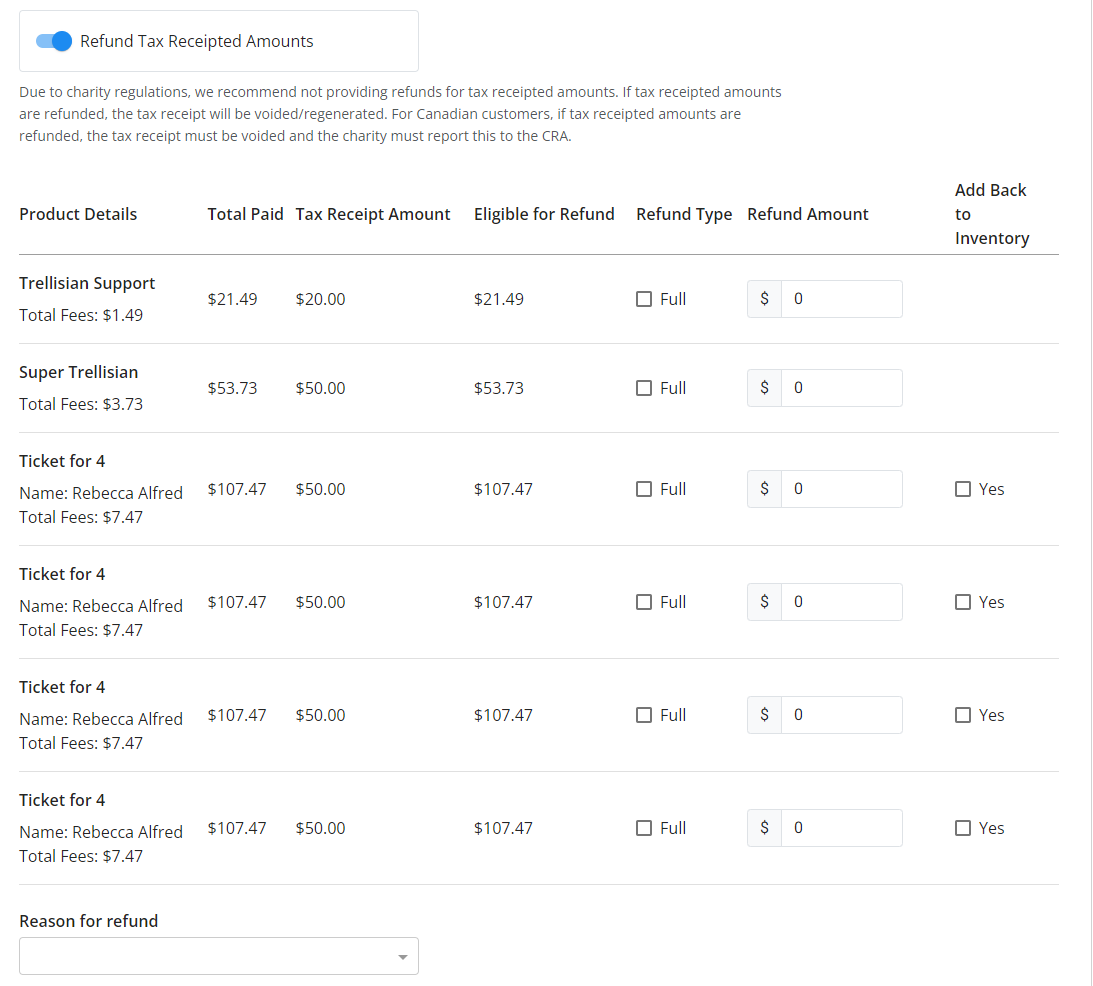
- Next, choose if you would like to refund the tax receipted amount.
- The tax receiptable portion can apply to donations, event tickets, or items that include a tax-receipted amount. If you issue a refund for any tax-receipted transaction, the original tax receipt will be voided.
- For Canadian organizations, the CRA requires reporting of voided tax receipts, which remains the organization's responsibility, as Trellis does not handle this reporting.
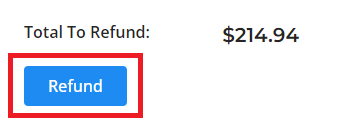
- Confirm that the Total To Refund amount is correct

4. Select the reason for refunding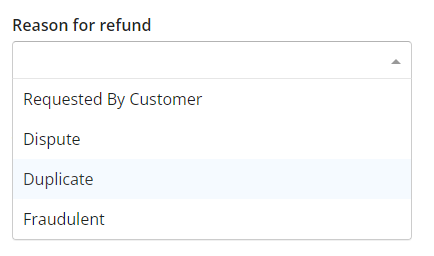
-
- Request By Customer - the purchaser requested a refund
- Duplicate - the purchaser accidentally made two purchases
- Fraudulent - the purchase was made by someone other than the authorized cardholder
- Dispute - the purchaser reported the purchase as illegitimate
5. Choose if the refund receipt and confirmation email should be sent to the purchaser.

6. Click the Refund button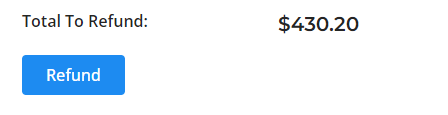
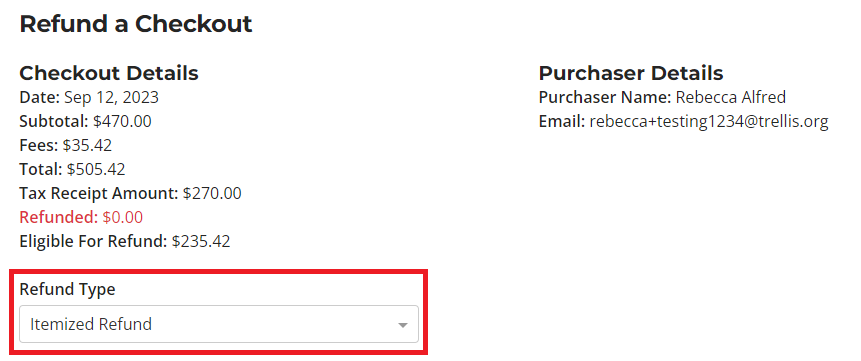
How to Issue an Itemized (Partial) Refund:
- From the Refund a Checkout page, under Refund Type, select “Itemized Refund”
- Choose if you would like to refund tax receipted amounts. Enabling this wil allow to refund items that have tax receiptable amounts.
- The tax receiptable portion can apply to donations, event tickets, or items that include a tax-receipted amount. If you issue a refund for any tax-receipted transaction, the original tax receipt will be voided.
- For Canadian organizations, the CRA requires reporting of voided tax receipts, which remains the organization's responsibility, as Trellis does not handle this reporting.

- Next, review the itemized breakdown of the checkout
- Select the purchasable(s) you'd like to refund.
- If you would like to issue a full refund for that purchasable, select “Full” under the refund type.
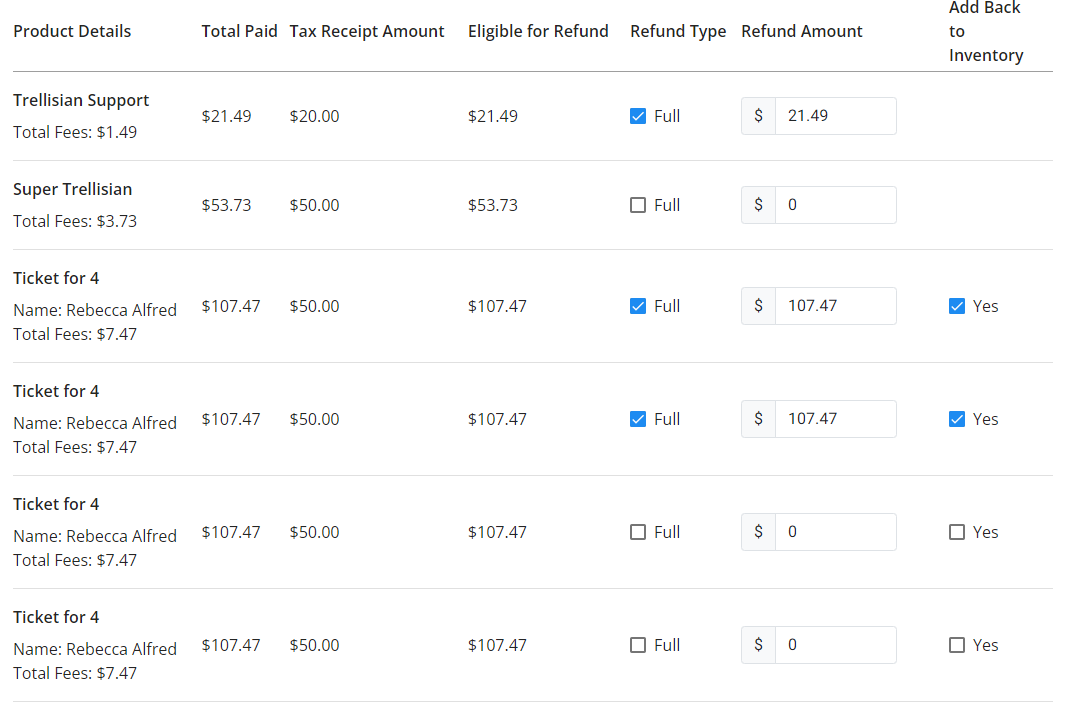
- If you would like to refund only a portion of that purchasable, enter the amount to be refunded under “refund amount”

- If you would like that item to be added back to the inventory after purchase, check the “Yes” box
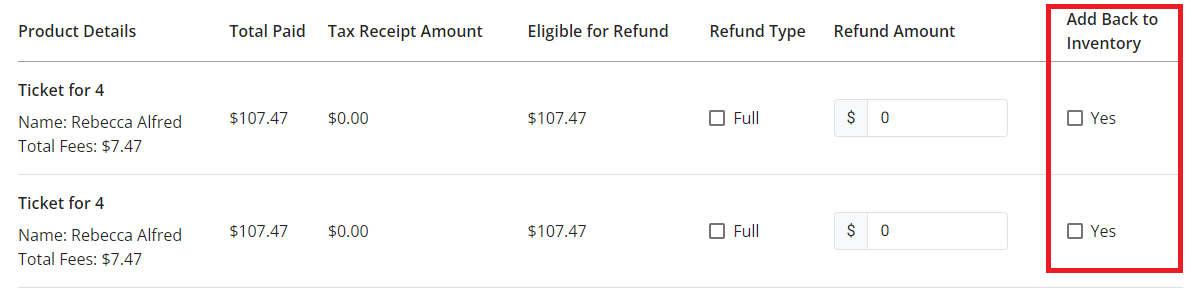
- The item will return to inventory and become available for others to purchase.
- Selecting the full amount will automatically return the item to inventory.
- Additional refunds can be issued for an item returned to inventory if there's still a remaining refundable amount.
- Once you make your selection, confirm the Total to Refund amount.

- Note, there is a flat transaction fee charged by the payment processor for every transaction. This is only refunded back to the purchaser if you issue a full refund.
- Select the reason for refunding
- Request By Customer - the purchaser requested a refund
- Duplicate - the purchaser accidentally made two purchases
- Fraudulent - the purchase was made by someone other than the authorized cardholder
- Dispute - the purchaser reported the purchase as illegitimate
- Choose if the refund receipt and confirmation email should be sent to the purchaser.

- Click the Refund button.
If you chose to have the refund receipt and confirmation email sent to purchaser, they will receive an email notification:

Important Refund Info:
- Once issued, a refund cannot be cancelled. Disputes and chargebacks aren’t possible on credit card charges that are fully refunded.
- Some refunds — those issued shortly after the original charge—appear in the form of a reversal instead of a refund. In the case of a reversal, the original charge drops off the customer’s statement, and a separate credit is not issued.
- For Raiser's Edge integration customers: the integration does not support refunds. Your team will need to manually adjust the gift in Raiser's Edge.
Frequently Asked Questions
Q: How are transaction fees handled during refunds?
Transaction fees are non-refundable in Stripe. There are no fees to refund a charge, but the fees from the original charge are not returned. If the original charge underwent currency conversion, the refunded amount is converted back using the same process.
If the donor covered the fees, the donor will be refunded the entire amount (including fees) and your organization will have the transaction fees deducted from your payout.
If your organization covered the fees, the purchased amount will be refunded to the donor and the fee will remain at the organization's expense.
If using our 0% Fees feature, the donor can be refunded the amount they paid, and Trellis covers the fees.
Q: Can you refund just the 0% Fees amount back to the purchaser?
Yes, if the purchaser would like a refund just for the amount they paid for 0% Fees, you can issue an itemized refund. Do not select any items to refund, instead scroll to the bottom of the page and toggle on Refund Fees and Platform Support to Purchaser. Once refunded, the purchaser will receive an email confirming the refund along with a refund receipt.
Note: The total refund amount will not be displayed, as the amount comes directly from Trellis. The platform support portion will be refunded to the purchaser’s original payment method. Your organization will not be charged processing fees if a refund is issued.
Q: Where can refunds be sent back to?
Refunds can be sent back only to the original payment method used in a charge. It’s not possible to send a refund to a different destination (e.g., another card or bank account).
Refunds to expired or cancelled cards are handled by the customer’s card issuer and, in most cases, credited to the customer’s replacement card. If no replacement exists, the card issuer usually delivers the refund to the customer using an alternate method (e.g., check or bank account deposit).
Q: Will the purchaser be notified of the refund?
You can choose whether the purchaser will be notified when issuing the refund by selecting Send refund receipt and email to purchaser or leave it unchecked to not send the notification.
Need Help?
If you have questions or need assistance, reach out to our Product Engagement Team via the blue chat icon or email support@trellis.org.