
There is a lot to think about when it comes to Fund-a-Need's (FAN) but, thankfully your Trellis team is here to help you create a stand-out experience for your donors!
In this article, we’ll walk you through how to set up the Presenter View for your team to share on the big screen
And, we’ll show you how to set up your donors to participate on their own mobile devices.
Prefer to watch a video instead? We've got you covered.
Setting up the Donor Experience
- Open up your Trellis Builder
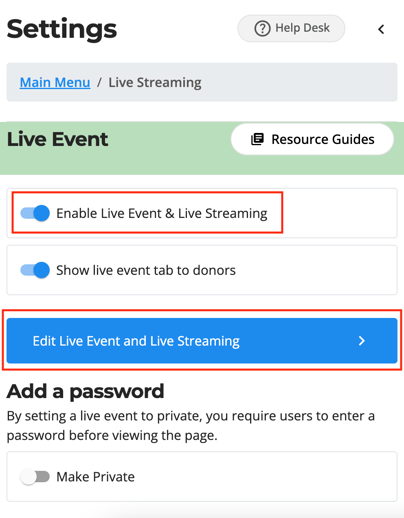
- Go to Live Streaming through the Settings on the left-side panel
- Turn on the toggle to Enable Live Event & Live Streaming
- And press, edit Live Event and Live Streaming - now you’re in the Live Streaming section (don’t be deceived by the name, you’re in the right place!)
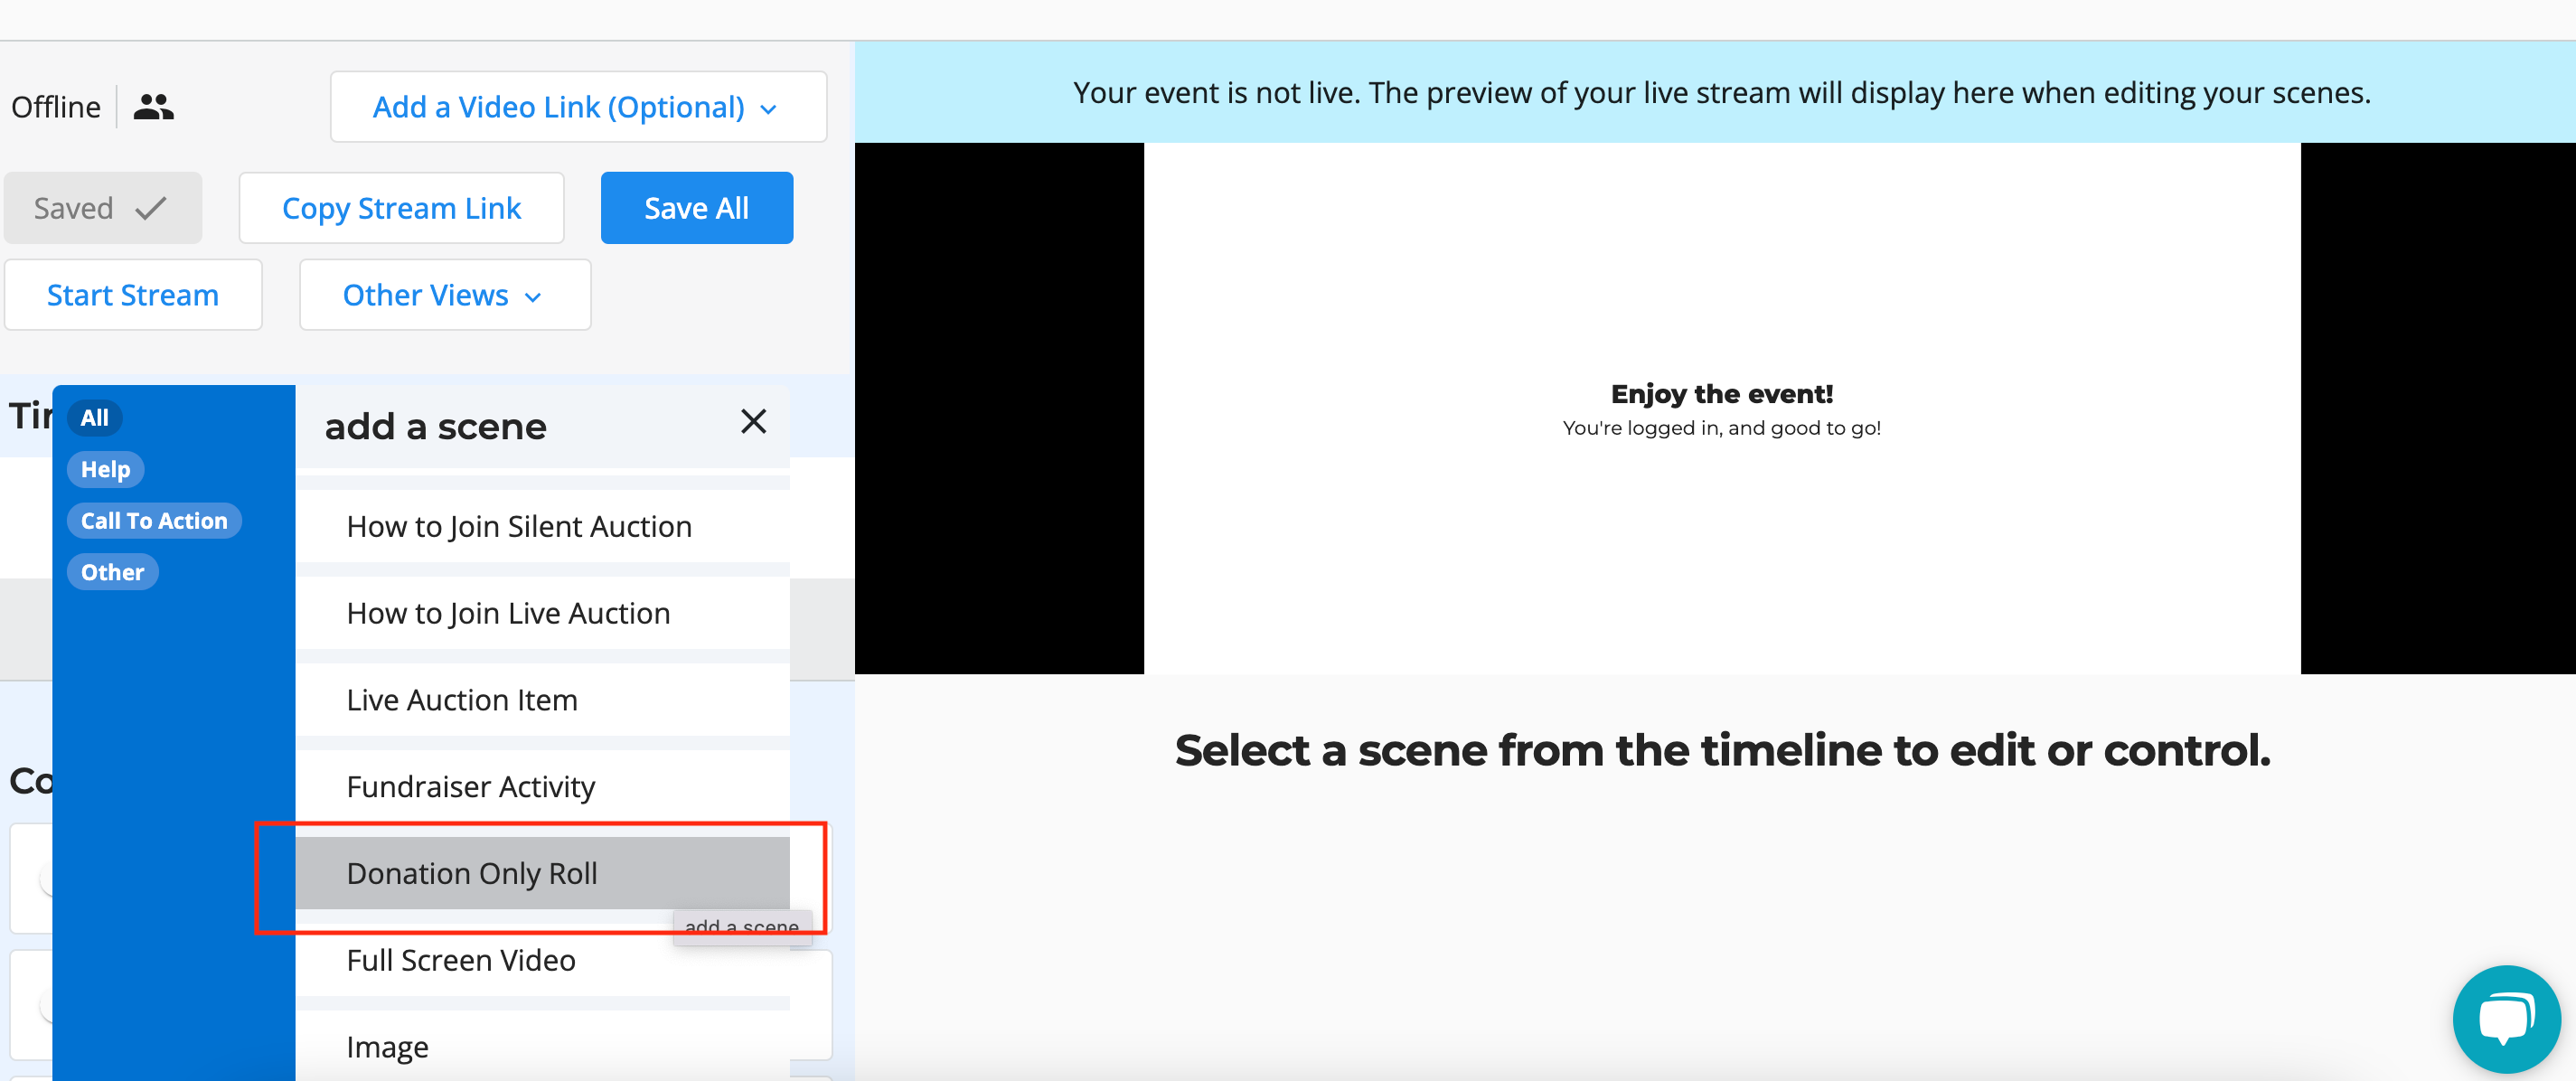
- First, we’re going to click Add Scene on the left side and select Donation Only Roll
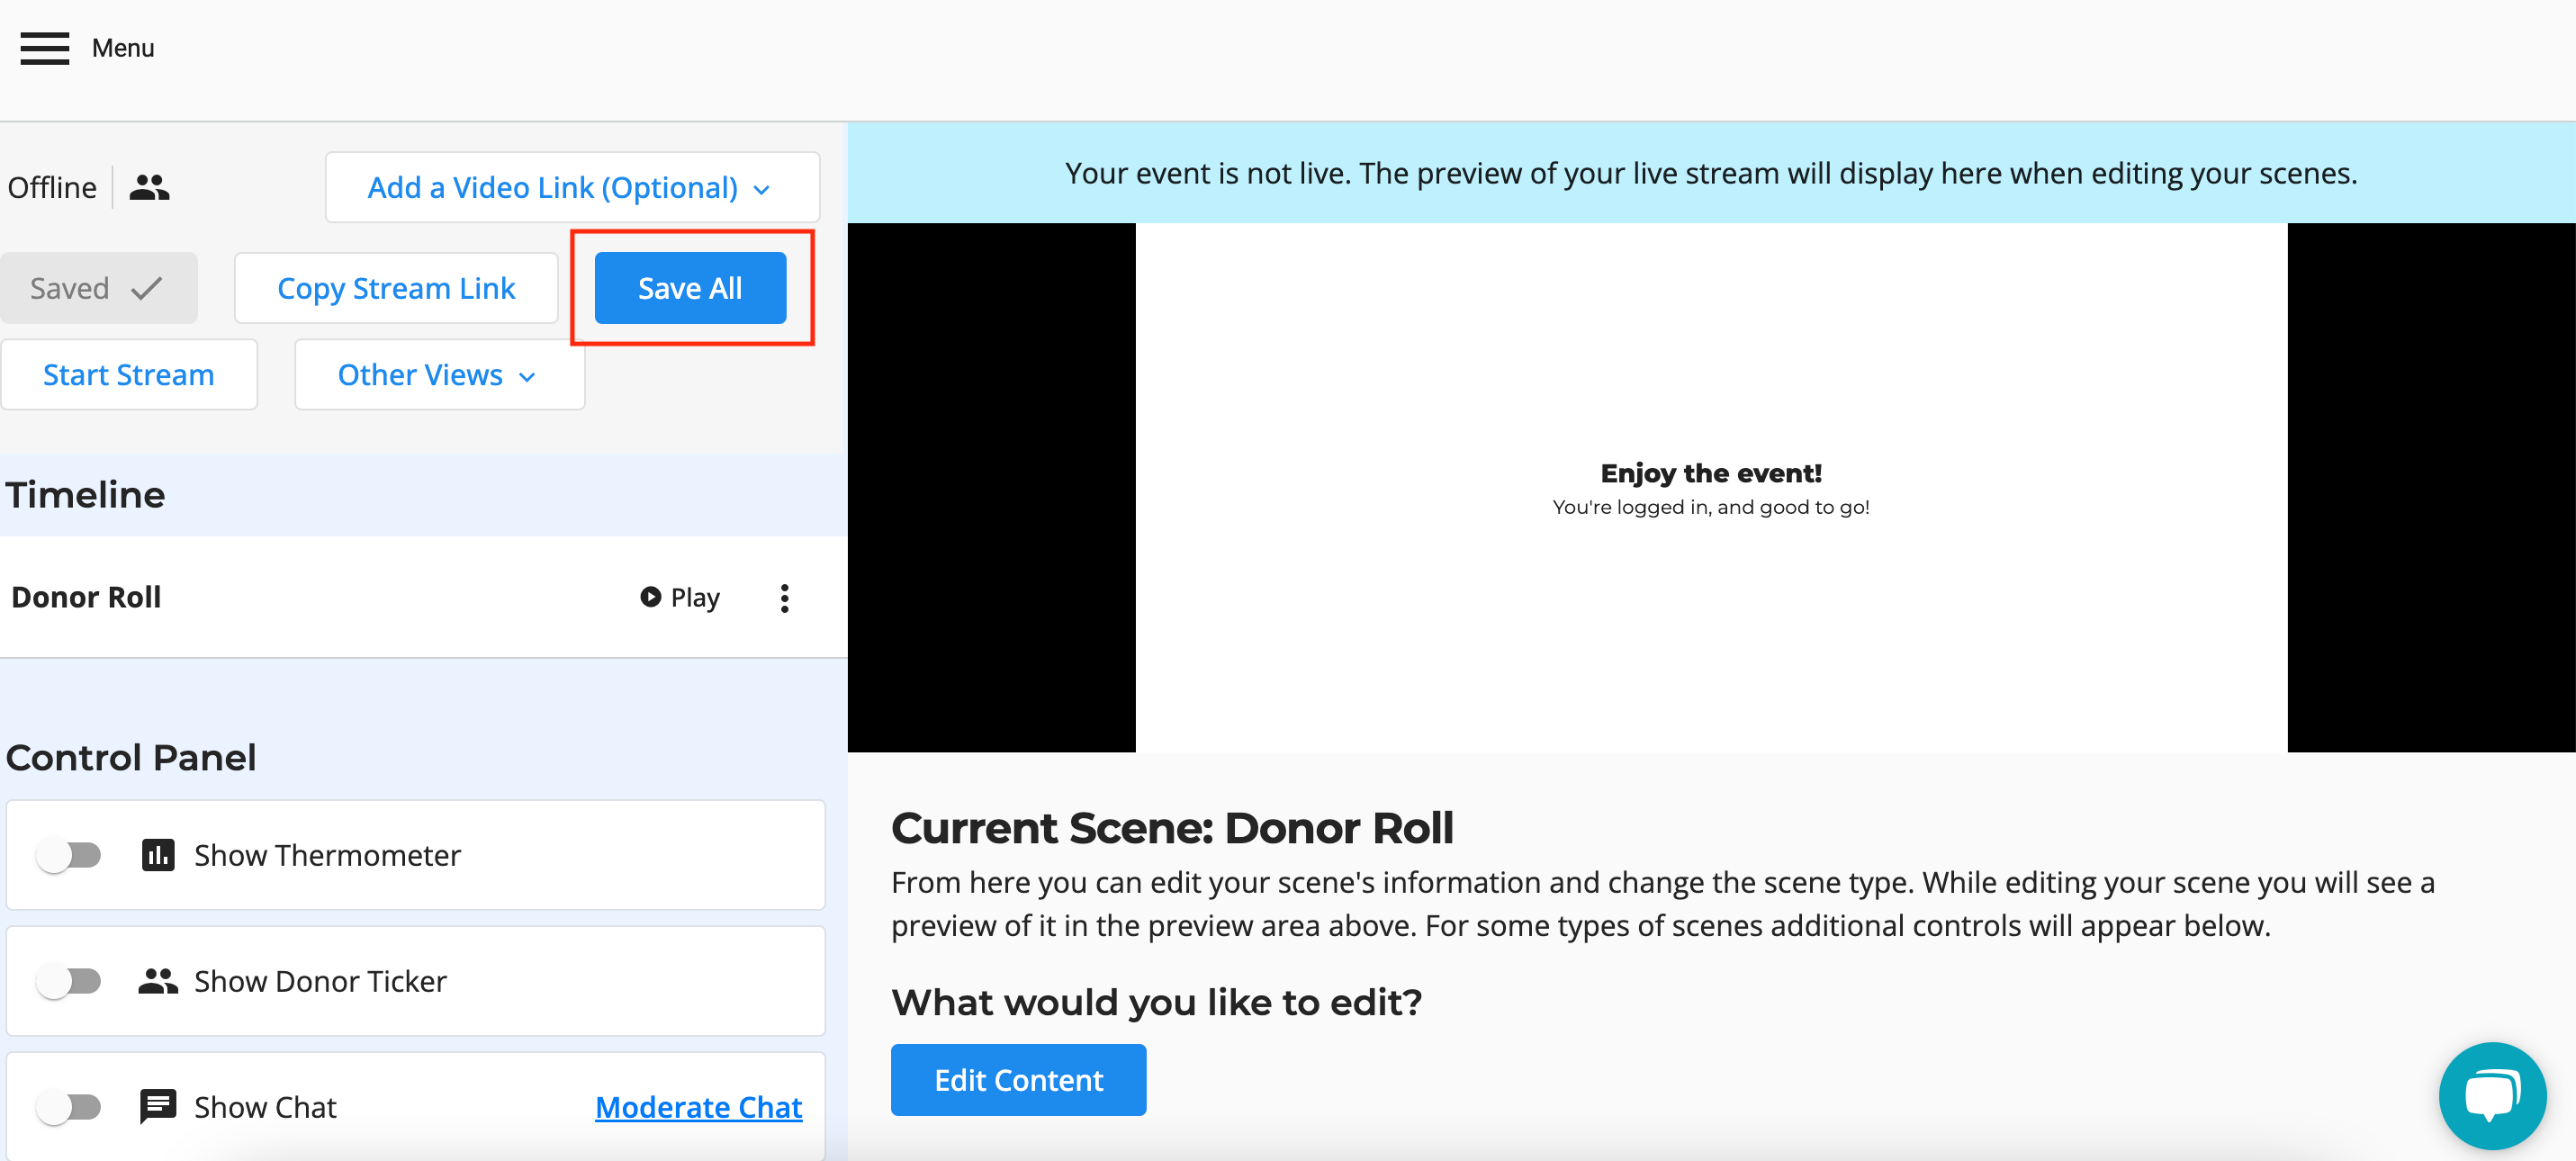
- Next, press Manage next to Donor Roll, and then Save in the center of your page
- The Donor Roll ‘step’ in the Timeline, will allow your donors to see donations as they come in during your FAN, but most importantly, allow them to also donate themselves!

- The Donor Roll ‘step’ in the Timeline, will allow your donors to see donations as they come in during your FAN, but most importantly, allow them to also donate themselves!
- Press Save All
To test that the Donor FAN experience is set up correctly, and also to launch it on the day of your event.
- Press Start Stream
- Click Copy Stream Link and open the donor-facing view in another tab
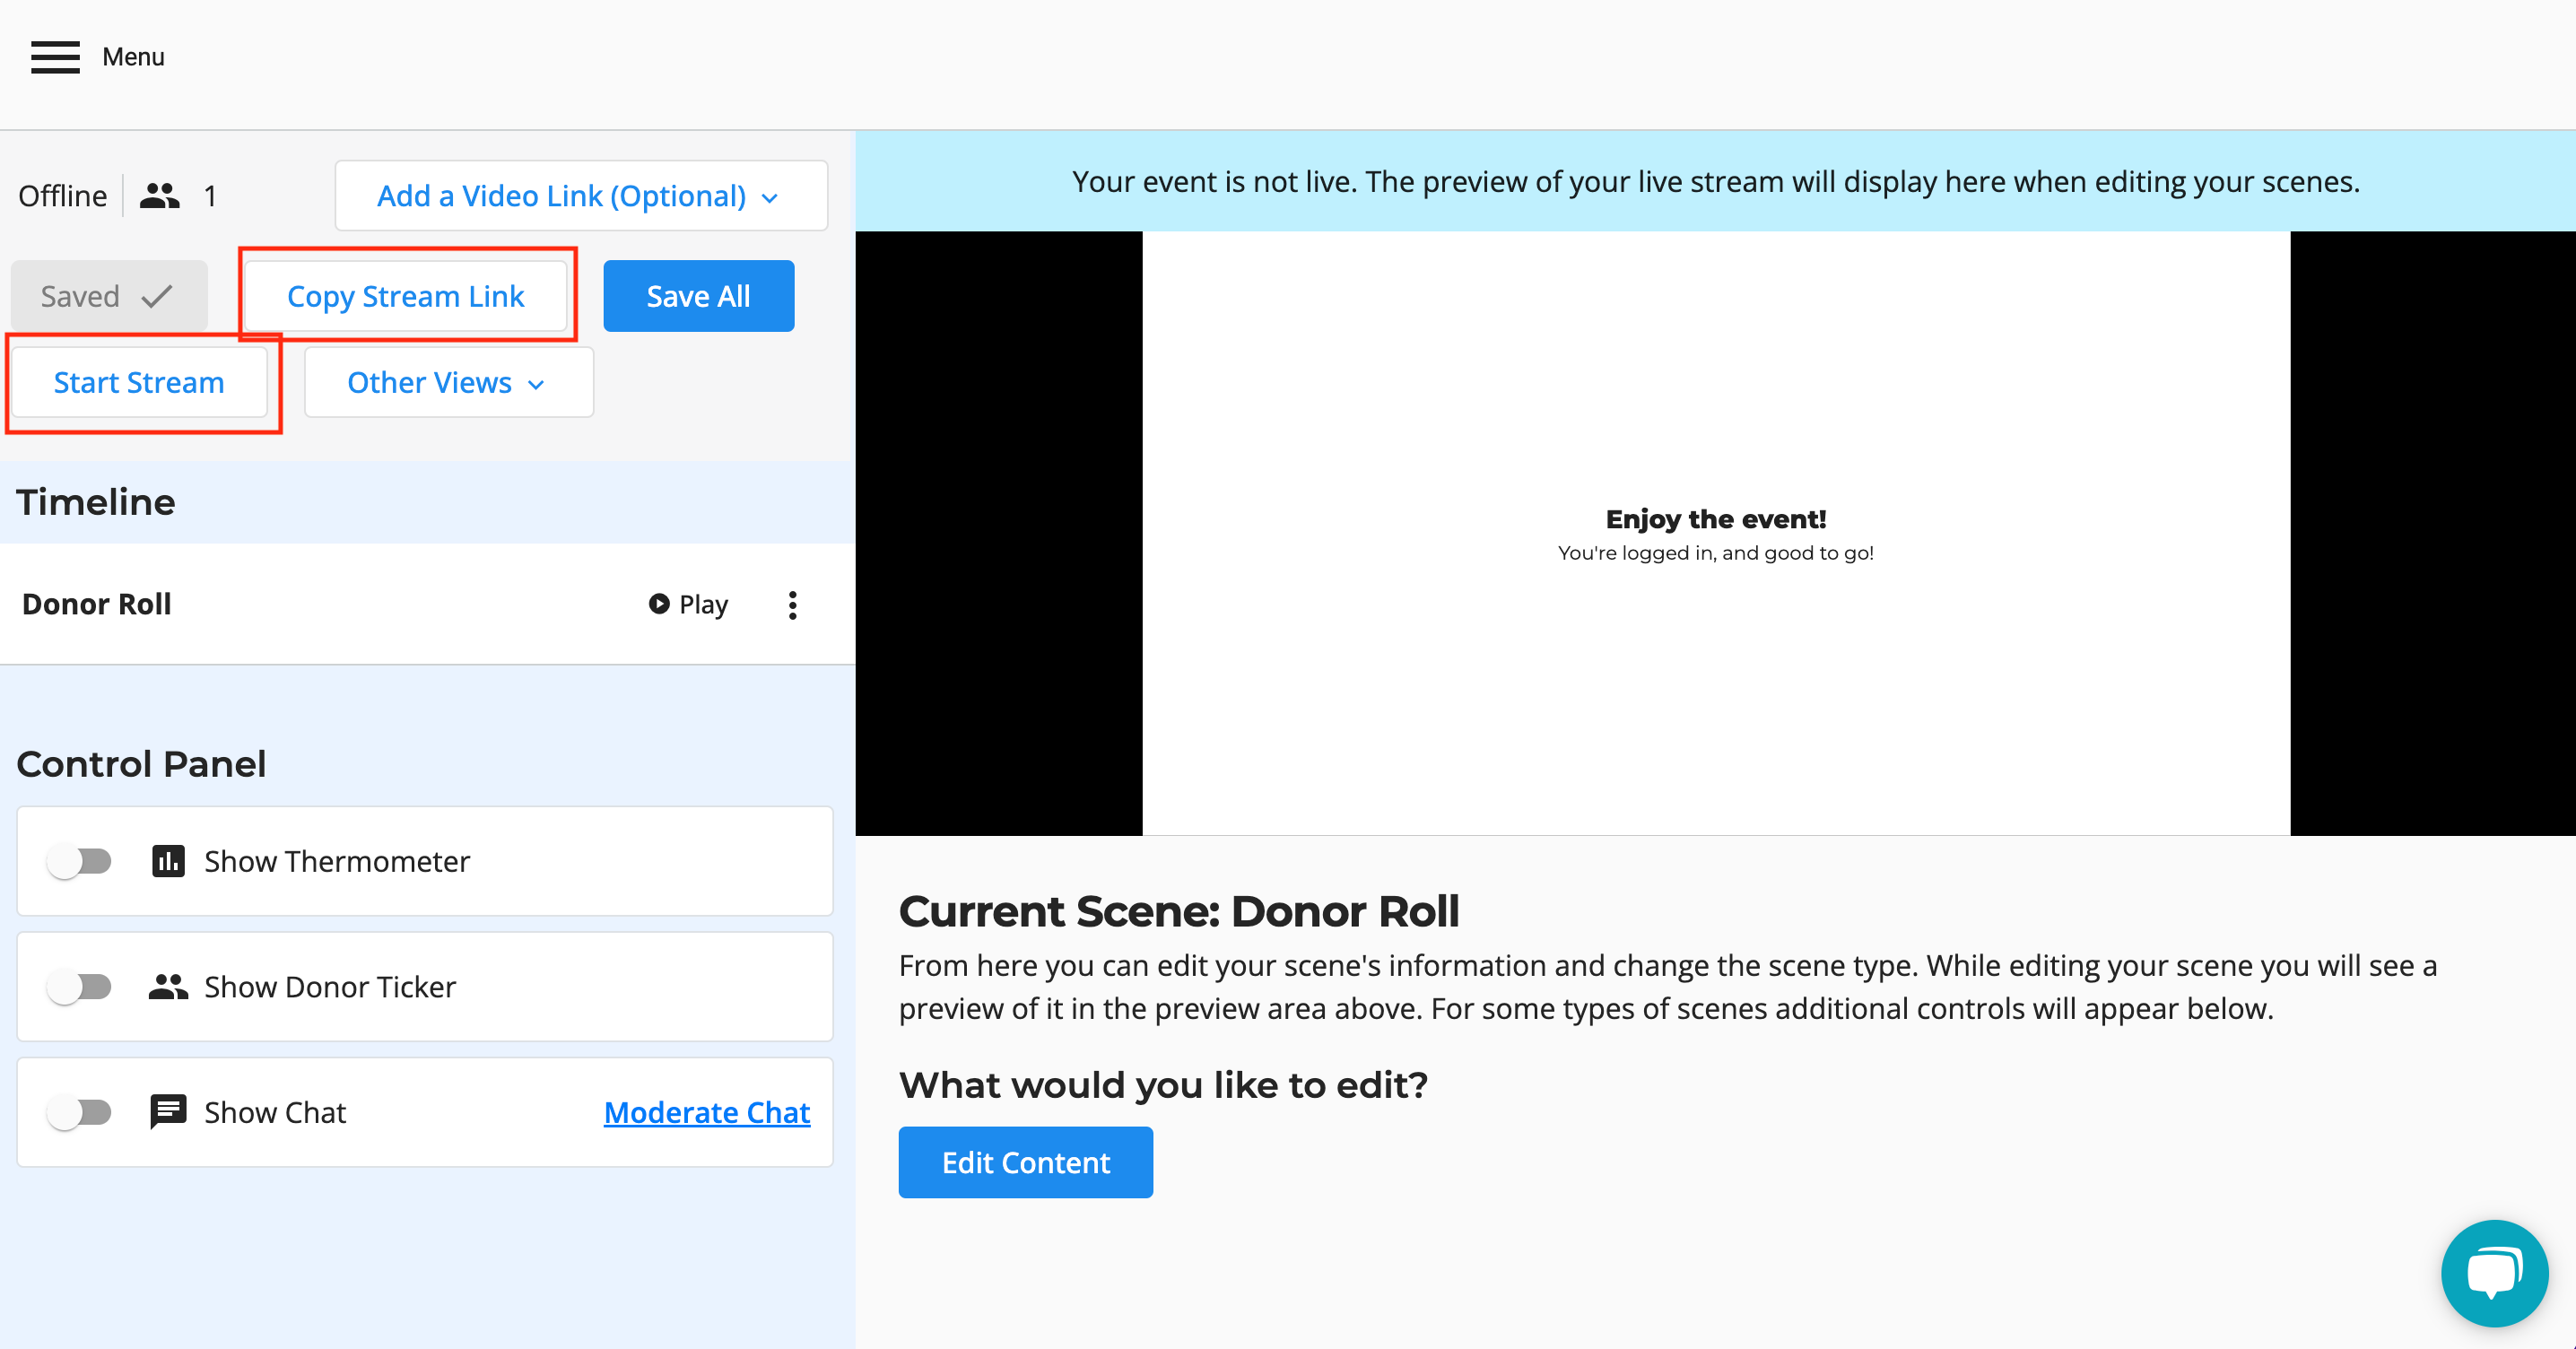
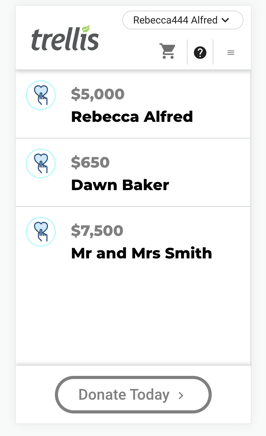
- From here, you should be able to see all the transactions that have happened on your fundraising page, and an option to Donate at the bottom.
- It is encouraged that your donors are logged into their Giving Account for a smooth FAN. When logged into their Giving Account, they will be able to complete a 1-click buy to make a donation to your FAN.
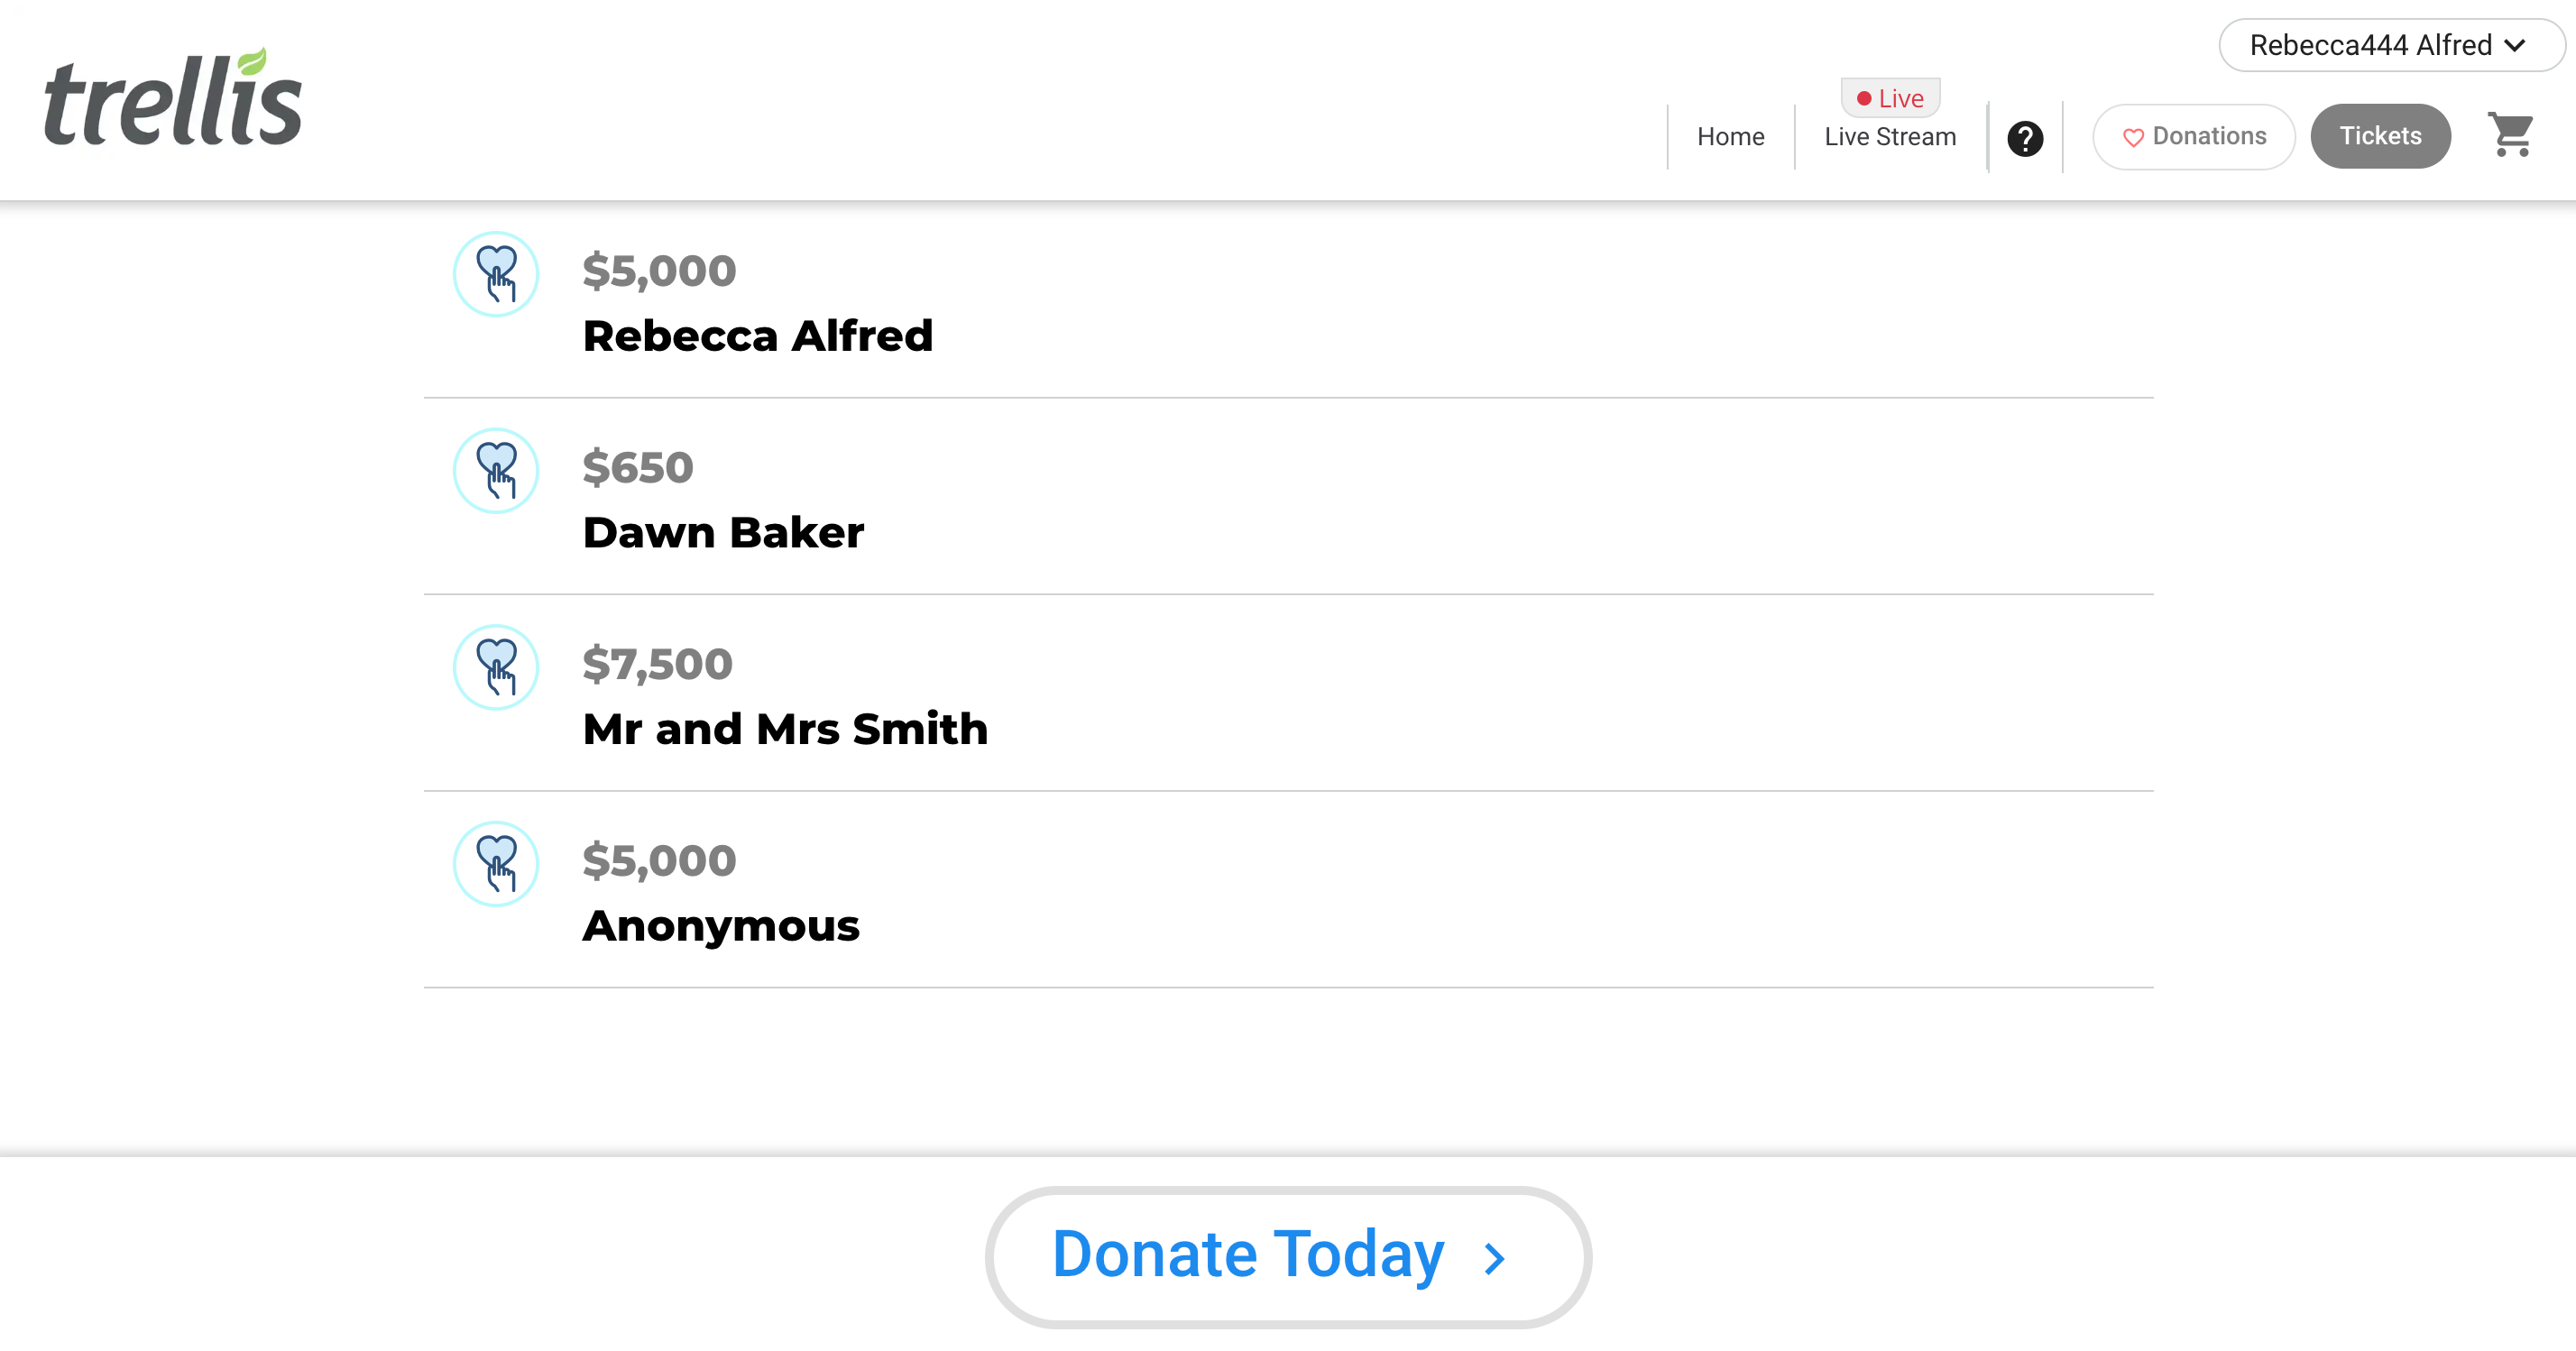
- It is encouraged that your donors are logged into their Giving Account for a smooth FAN. When logged into their Giving Account, they will be able to complete a 1-click buy to make a donation to your FAN.
YAY! Your Donor Facing FAN experience is set up! Next up, let’s set up your Presenter View!
Setting up the Presenter View
- In the Live Streaming section, click Other Views, and choose Production View, and Open Production View
- This menu shows all the possible views (or scenes) which you can open in a new window. By opening these views in another window, your AV team will be able to easily manipulate them and show a custom display for your fundraiser.
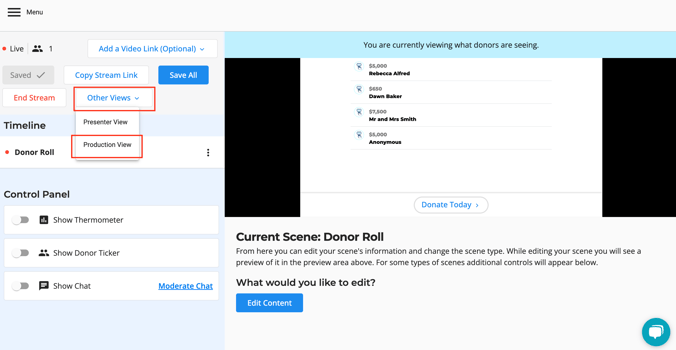
- This menu shows all the possible views (or scenes) which you can open in a new window. By opening these views in another window, your AV team will be able to easily manipulate them and show a custom display for your fundraiser.
- Select Simple Production View
- In this view, you’ll see a custom display specifically for your FAN.

- In this view, you’ll see a custom display specifically for your FAN.
- Click Configure Settings in the top left corner

- The first drop-down allows you to select which Fundraising Drivers you’d like to be displayed in your FAN thermometer. Most commonly organizations will opt to only show donations.
- If you only want to show donations, select the options Donation Options, Custom Donations, and Pre-Loaded Donations
- Use the next box to set a Thermometer Goal for your FAN. This will not impact or change the thermometer on your main fundraising page.
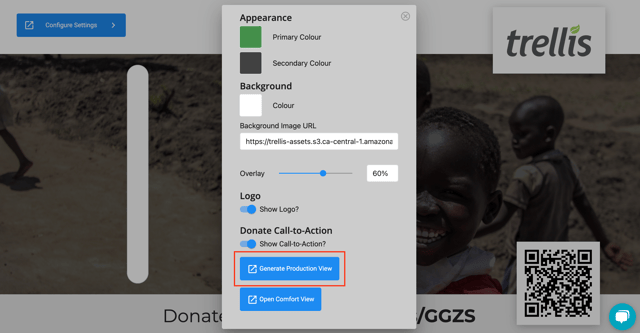
- Change your Primary and Secondary Colours. It is strongly recommended to change these, in order to see all the details on your page.
- Either opt to set a Background Colour or include a link to add a Background Image to your page. If you need help adding a Background Image, please contact our Support Team through the blue chat icon
- Next, adjust the Overlay (for the Background Image)
- And, opt to show the Logo and Call to Action by using the toggles
- The first drop-down allows you to select which Fundraising Drivers you’d like to be displayed in your FAN thermometer. Most commonly organizations will opt to only show donations.
- Once all your settings are configured, press Generate Production View, it’ll open a new tab that is designed for your team to share on the big screen! It’ll show all the details for your FAN, with prompts to participate and an engaging graphic to draw in attendees. As donations are made, and Pre-Seeded Donations are added, the thermometer and donor ticket will automatically increase!
But wait! We’ve got one more piece to make your FAN a success!
Setting up the Comfort View
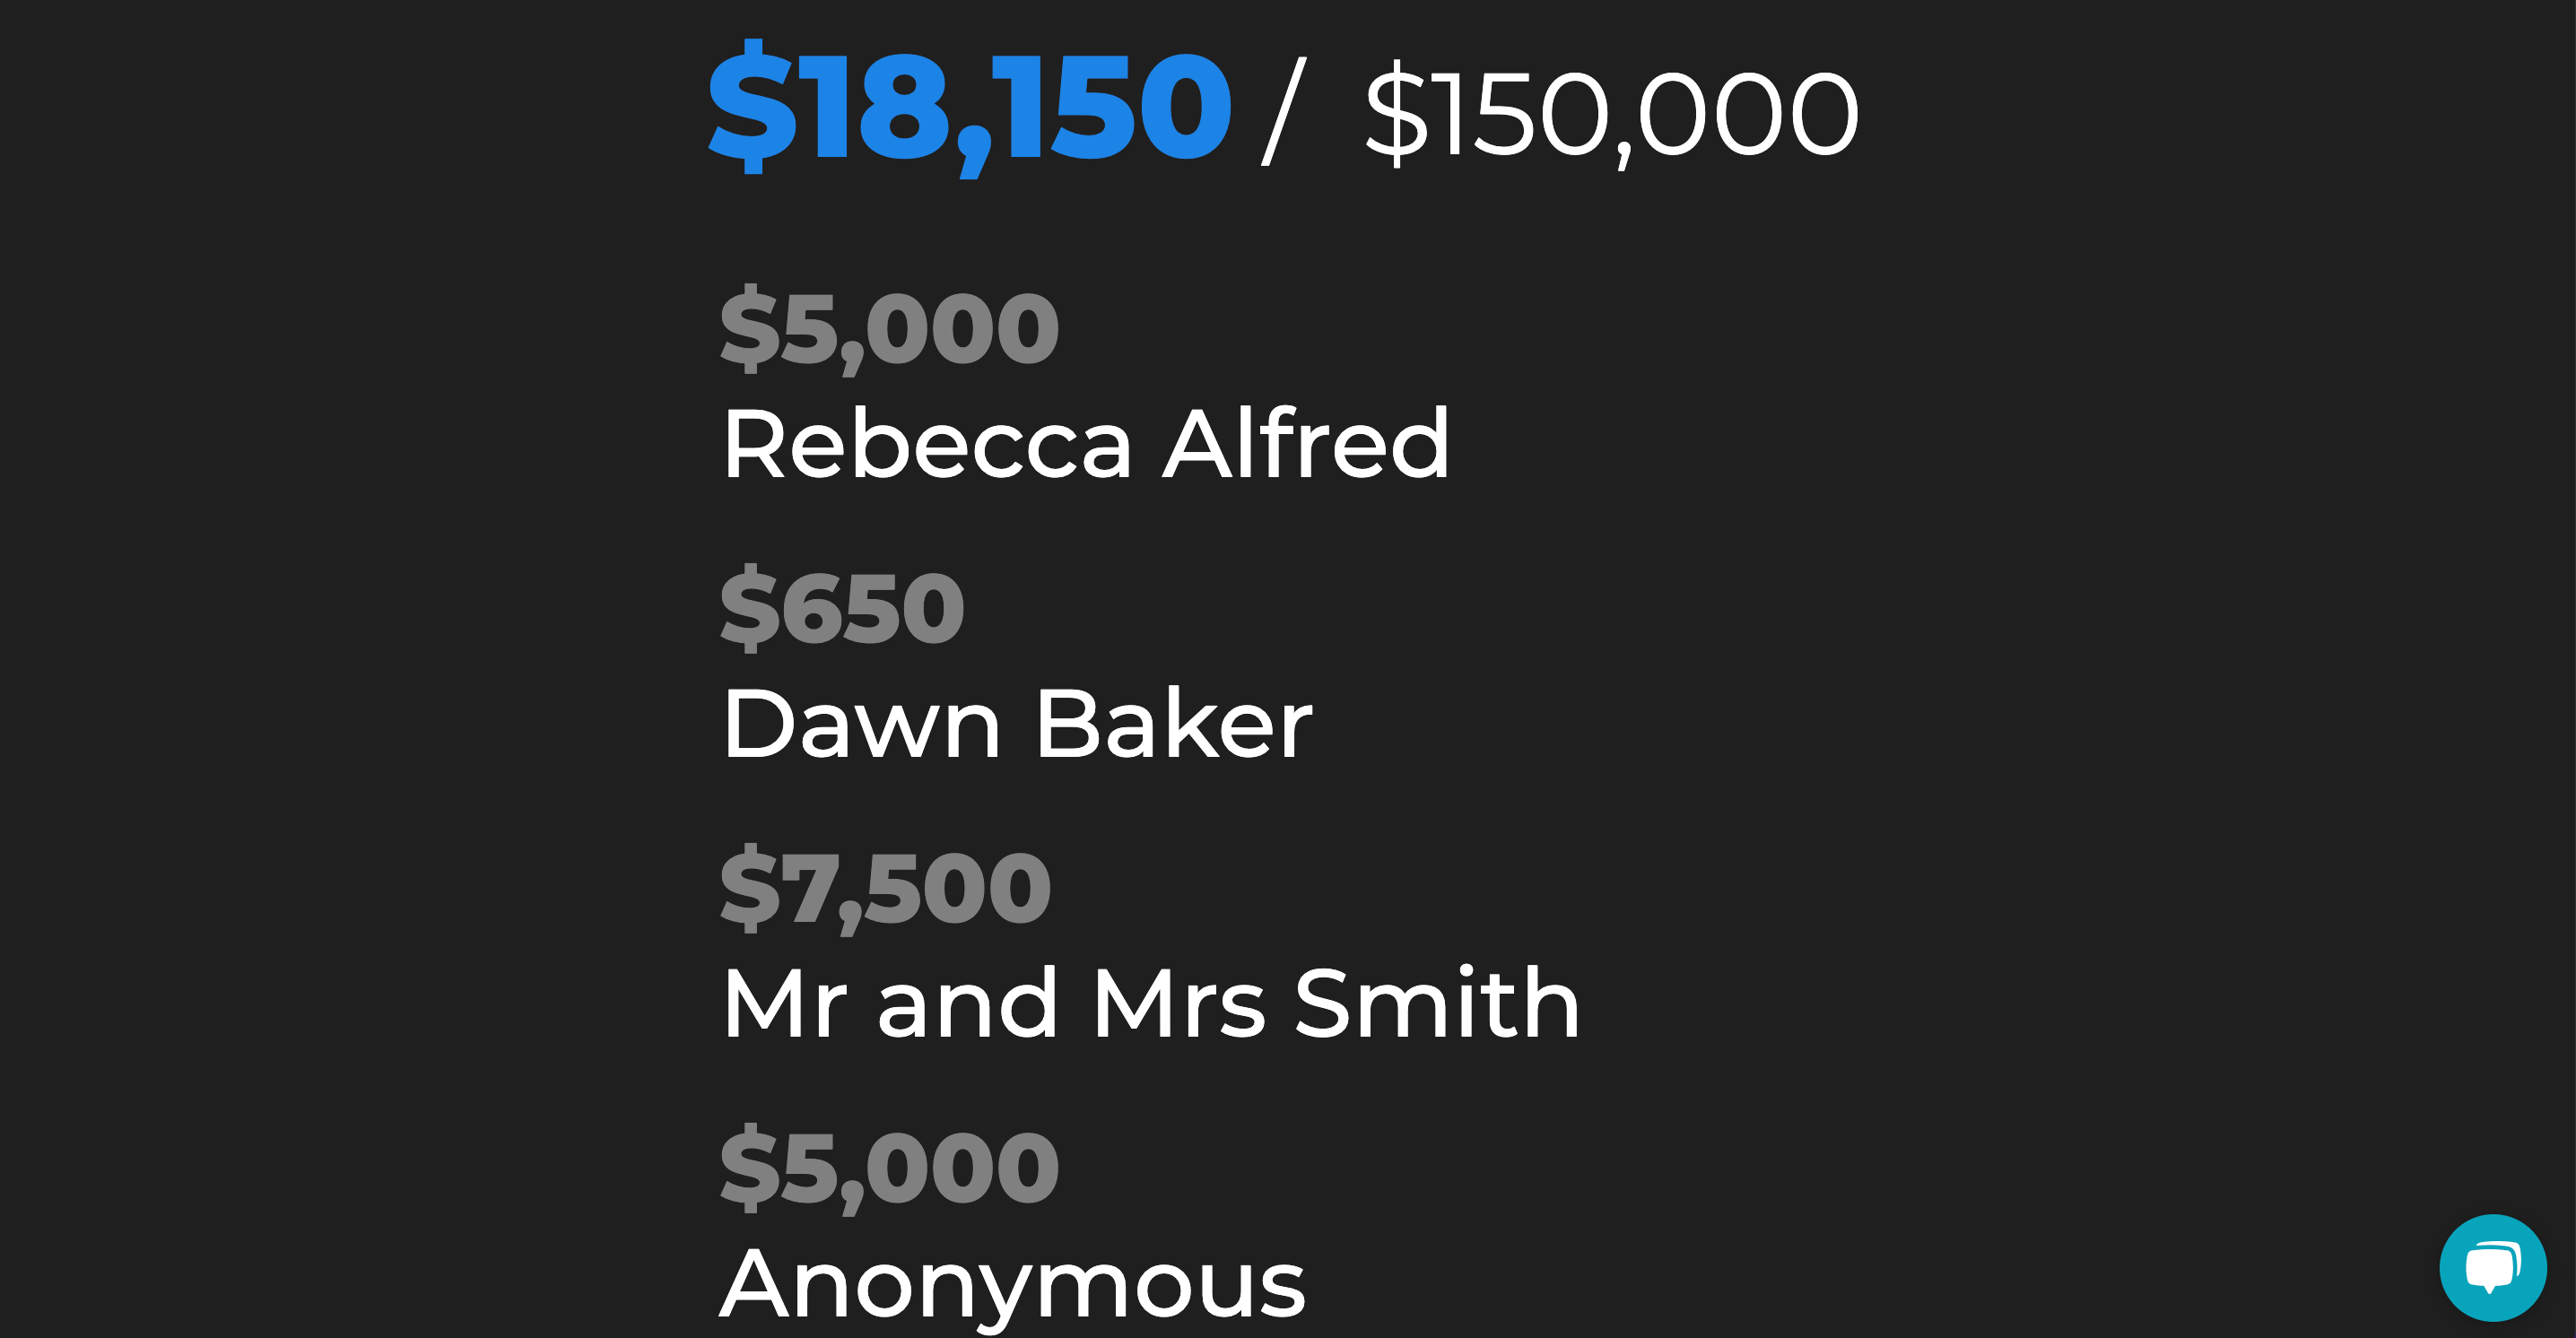
- Go back to the Configure Settings window, and click Open Comfort View
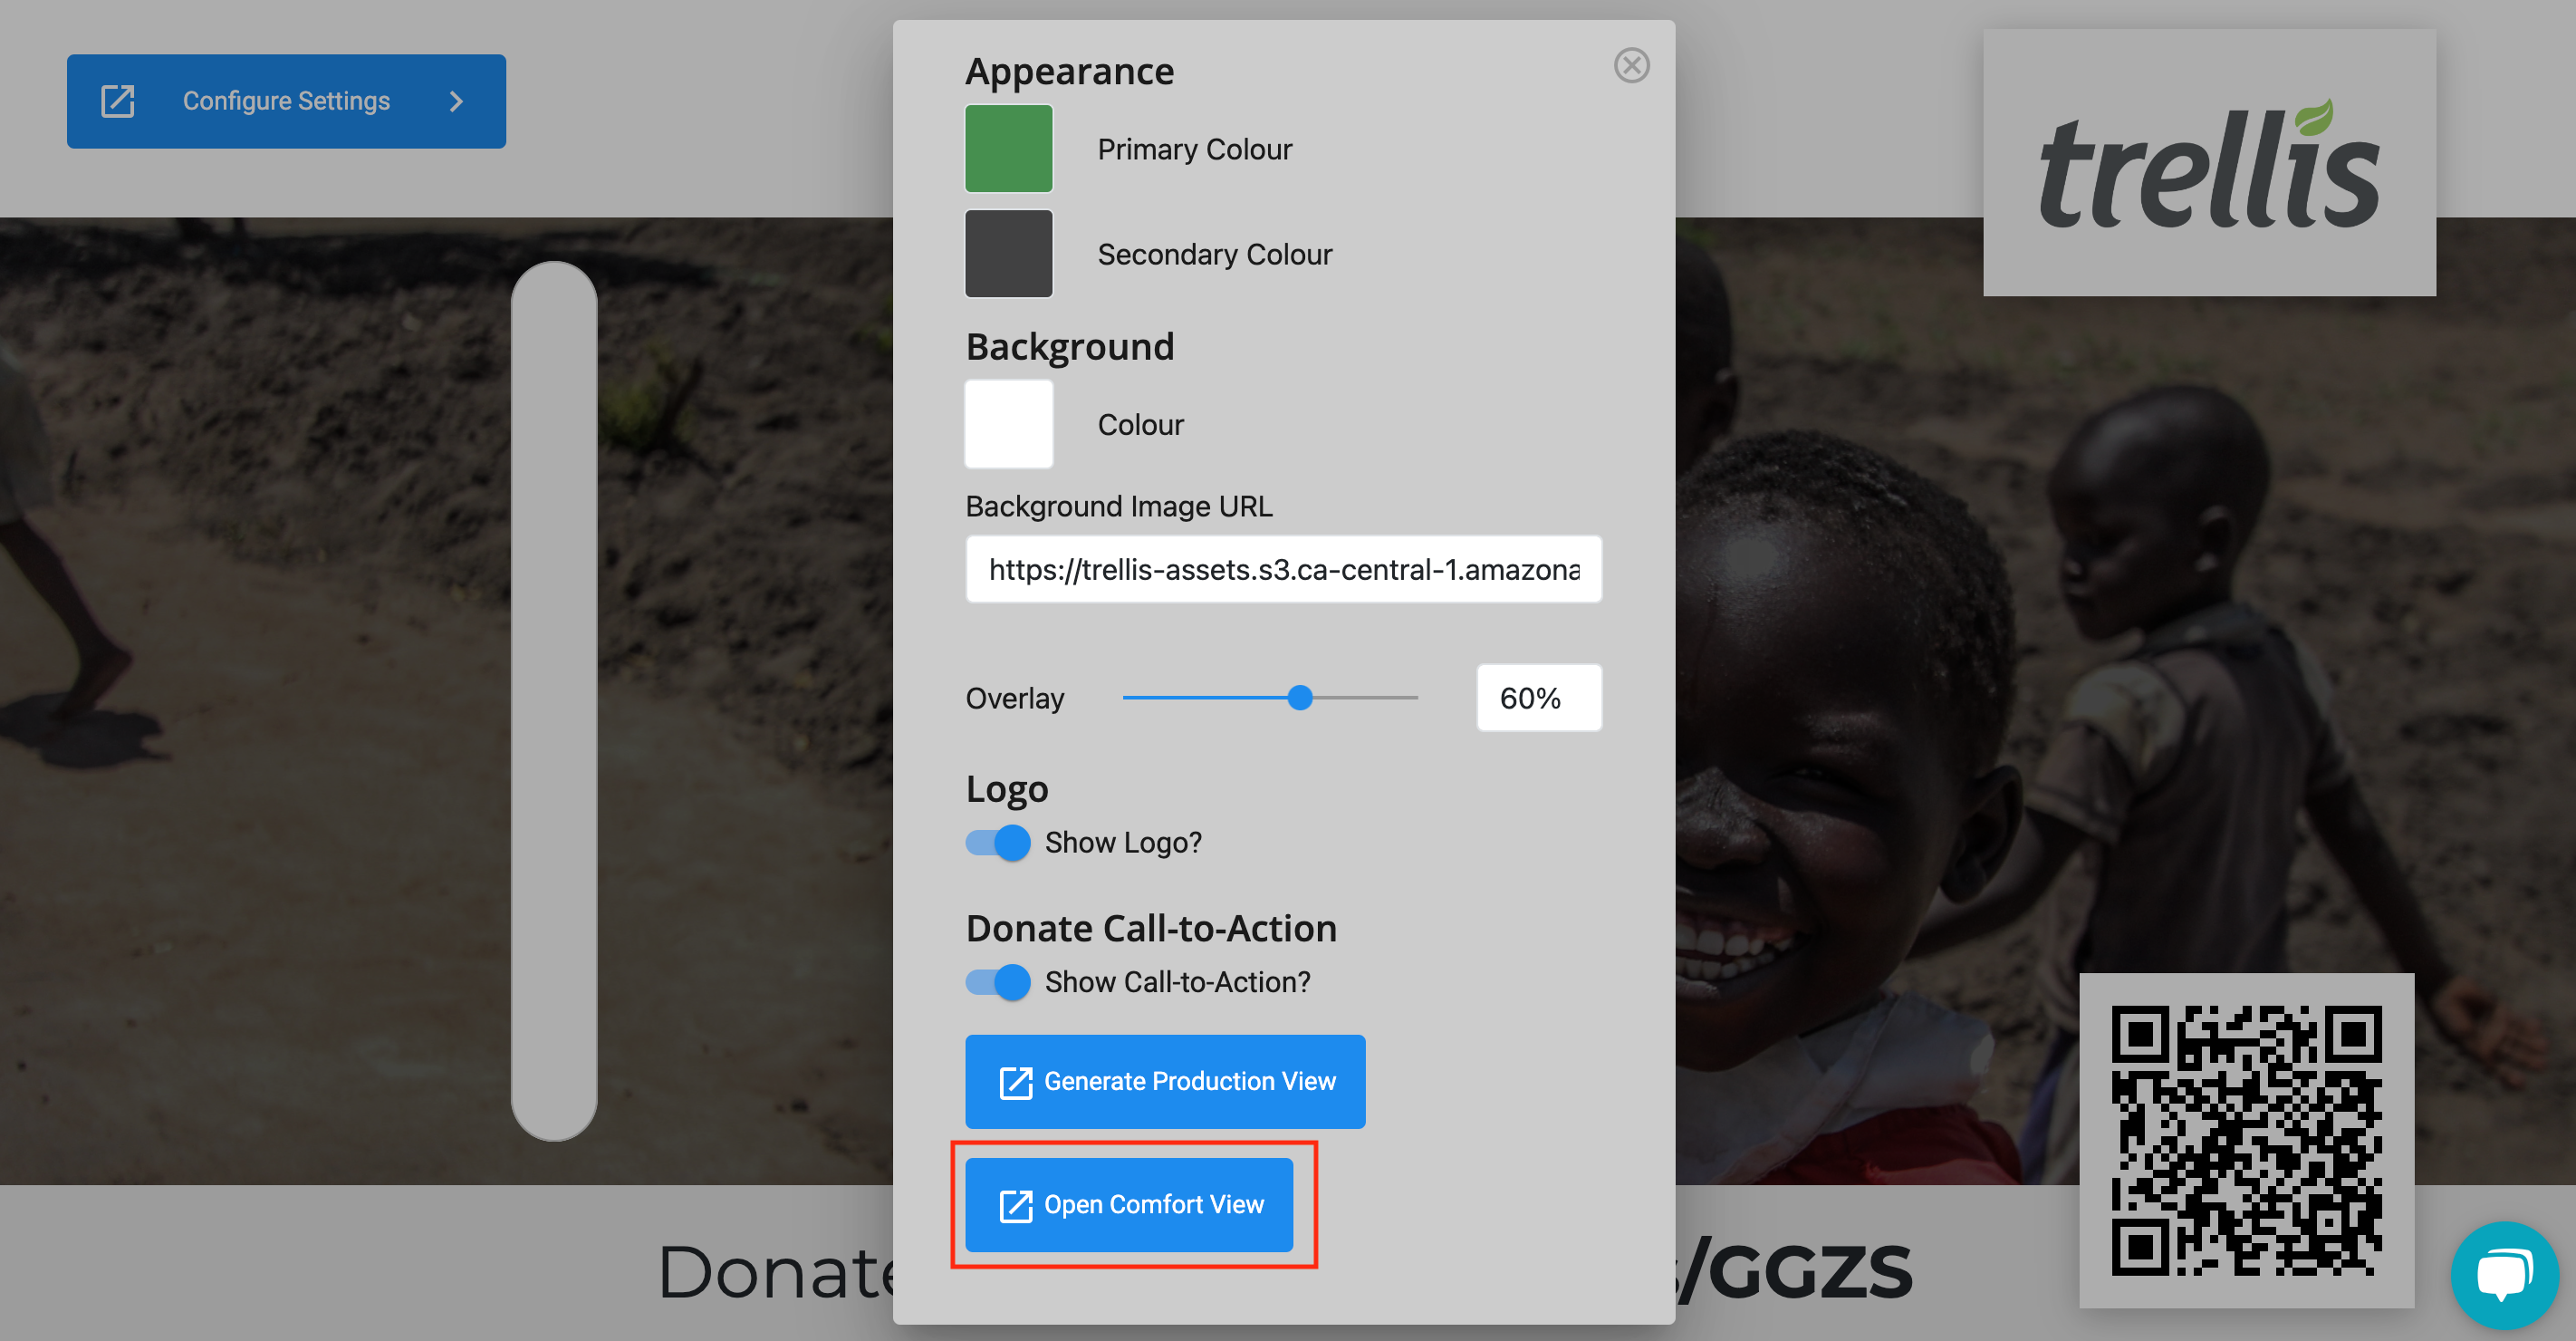
- This will open a new view, specifically designed for your auctioneers / MCs. Show this display on their cheat monitor so they can easily see donations coming up, in a night mode display.
Have more questions that didn't get answered in the article? Reach out to our Support team for help through the blue chat icon!