Trellis uses Stripe Connect to process payments and send funds directly to your organization's bank account, giving you a faster, smoother, and more secure setup. For more on when you'll receive funds, see How Payouts Work on Trellis.
How to Set Up Payments and Payouts
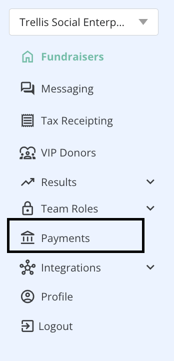
Access the Payments Section
- From the Dashboard, navigate to the Payments section on the left-hand side.
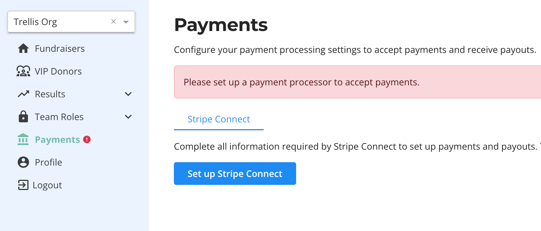
Set Up Your Stripe Connect Account
- Click Set up Stripe Connect.
- You'll be redirected to Stripe. Follow the instructions to enter all required information for your organization. For instructions on verifying your Stripe account, refer to this article.
- After completing setup, you'll return to Trellis automatically.
Heads Up! Due to global Know Your Customer (KYC) regulations, Stripe must verify your organization's information before enabling payments. Start this process as early as possible to avoid delays. If you need help verifying your information, see this article on Stripe setup and verification.
Connect Your Bank Account
- Once Stripe is connected, click Add Account in the Bank Accounts section.
- Enter your bank account details to ensure funds are directed correctly.

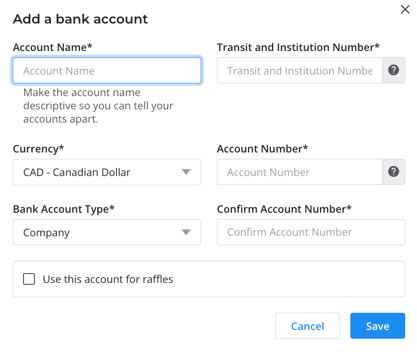
If you're running a raffle (Canadian organizations only) and are required to use a separate bank account, add the second account and check Use this account for raffles.
Use the format Transit Number–Institution Number (e.g., 12345–123). Double-check your account information, since you won't be able to view or edit it. If a correction is needed, you will need to add the bank account once again.
Confirm Payments and Payouts Are Enabled
- Once Stripe is set up and verified, the Payments status will show as Enabled.
- If you've added at least one bank account, the Payouts status will also show as Enabled.

Heads Up! If you see a red banner above the Stripe Connect box, click Update to finish entering your details.
Once your bank and Stripe details are confirmed, you're ready to start collecting donations and launching fundraisers on Trellis. To learn more, check out How Payouts Work on Trellis.
Related Articles
- How to Set Up and Verify Your Stripe Account
- How to Add or Update Your Default Bank Account
- How Payouts Work on Trellis
- How to Reconcile Your Payouts
Need Help?
Did this answer your question? If not, please reach out to our Product Engagement Team via the blue chat icon or email support@trellis.org.