
Hey event organizers! In this guide we’ll walk you through how to make the most of the Trellis Check-In Tool for your event.
Part 2: Accessing the Check-In Tool on Event Day
Part 3: How to check in an attendee using the Check-In Tool
How to check-in a verified attendee
How to check-in a “reassign” attendee
How to check-in an “unverified” attendee
Part 4: Check-In Tool Feature Overview
Part 5: Configure the Check-In Tool
IMPORTANT: To access this feature, please request us to enable this feature for you through support@trellis.org
Download your quick checklist below for your check-in to ensure you cover the check-in process!%20(1).png?width=500&height=100&name=Untitled%20(500%20%C3%97%20100%20px)%20(1).png)
Part 2: Accessing the Check-In Tool on Event Day
We designed our Check-In Tool to be easily used by staff or volunteers across all devices.
How to open and sign-in to the Check-In Tool using your Trellis Admin Account:
1. Using your Trellis admin account you can login and click on the person icon below the fundraiser you want to check in your attendees.
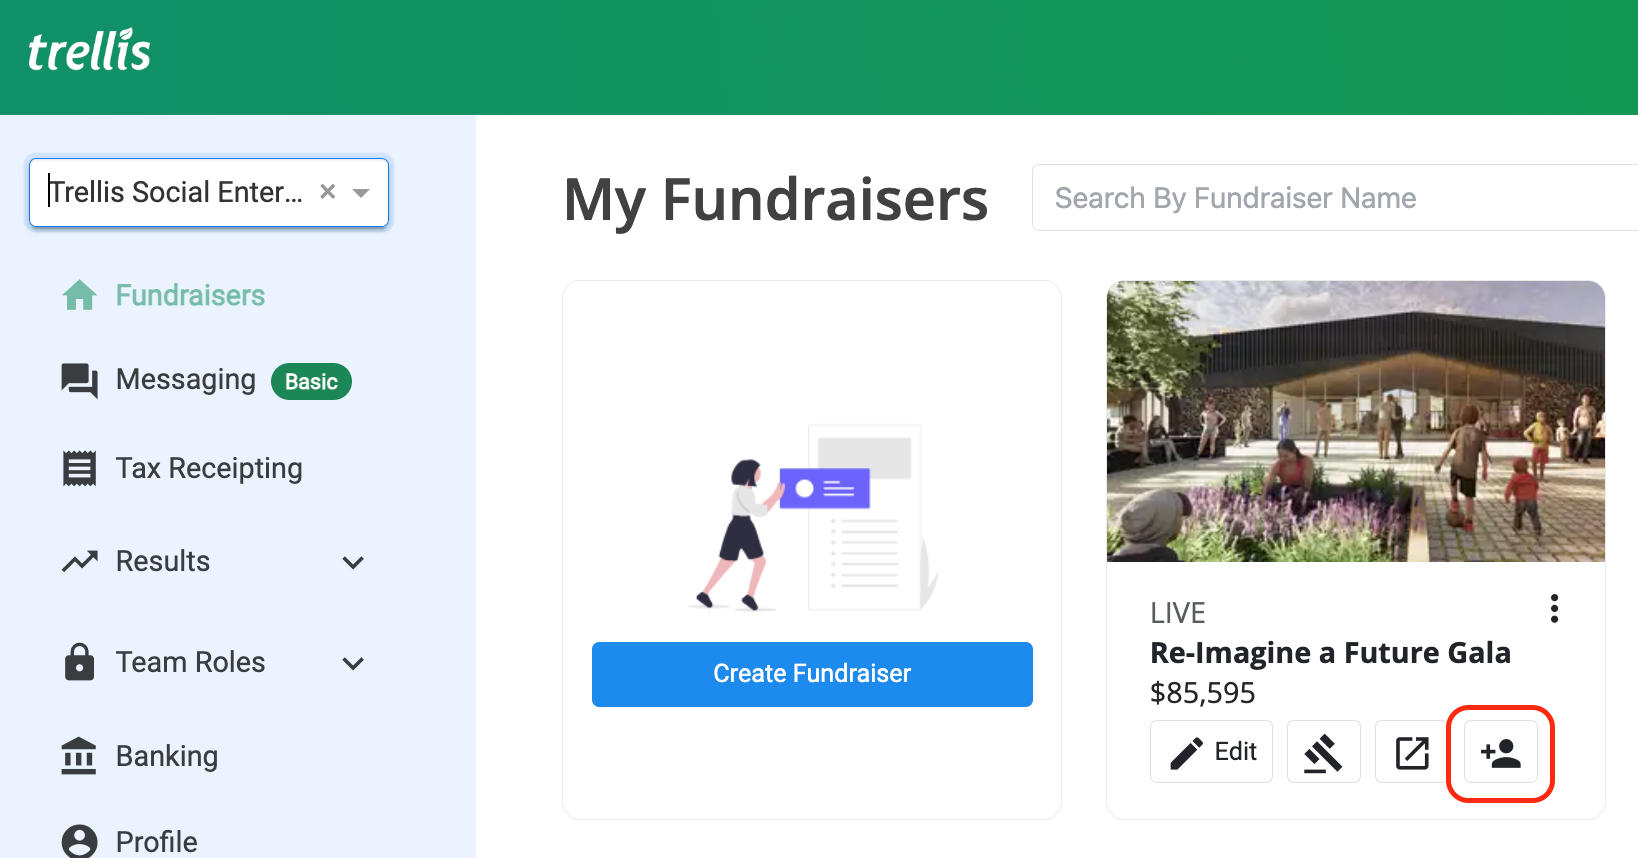
2. Select Check-in Tool.
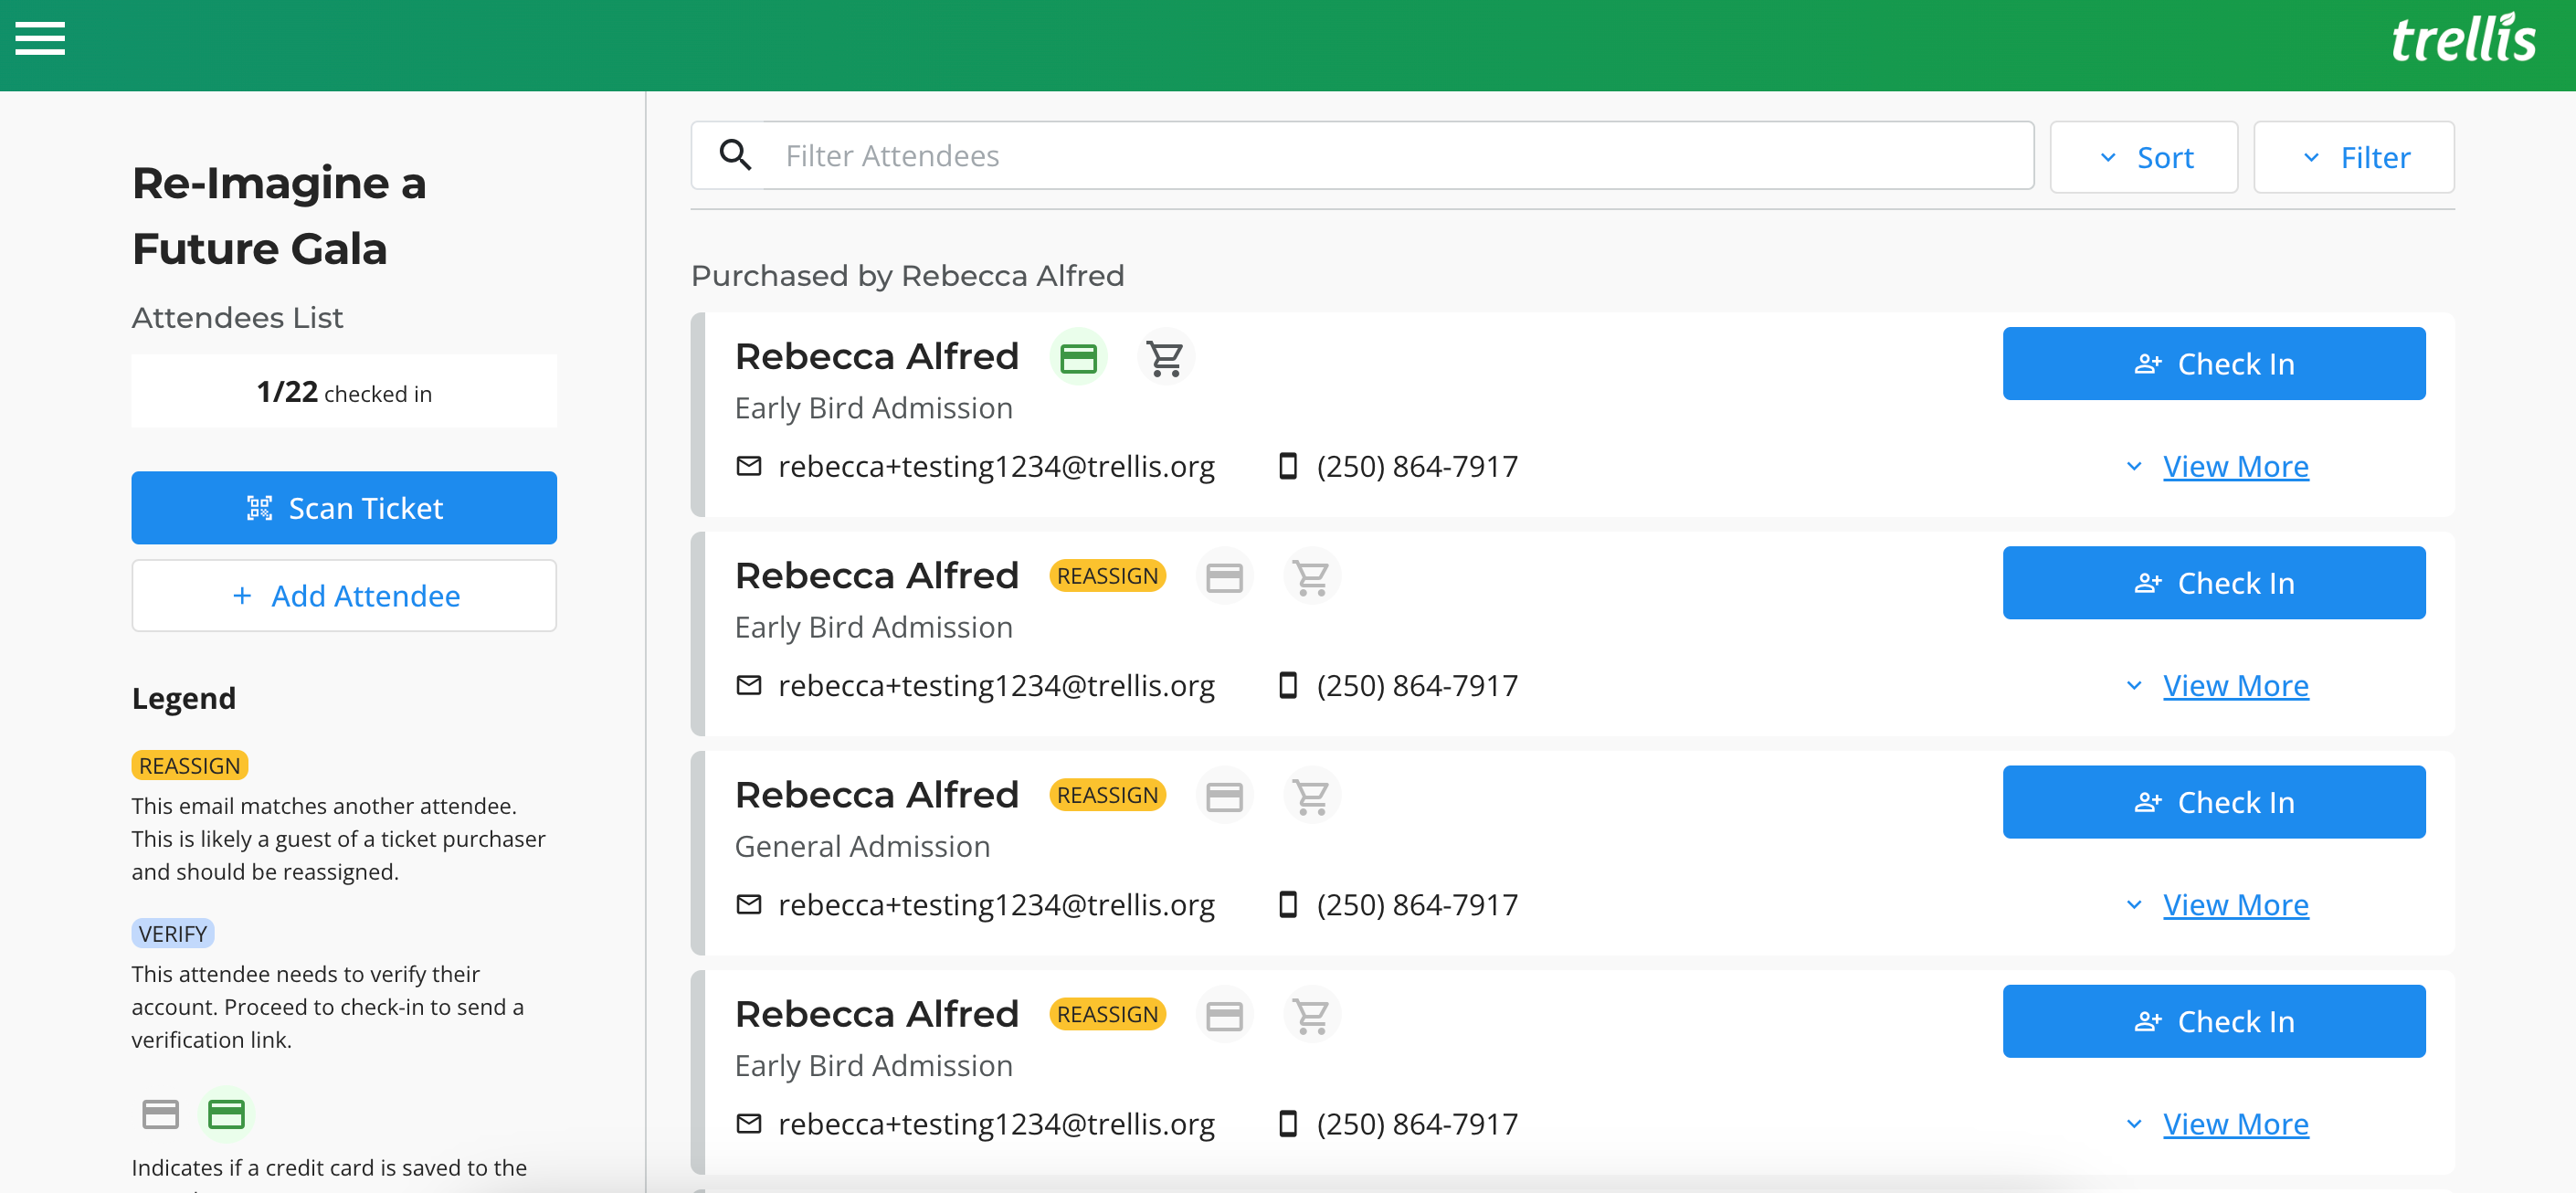
3. You will now see the attendee list for the Check-In Tool, and you’re ready to get started!
How to open and sign-in to the Check-In Tool as a Volunteer:
1. Once the organizer has added you as the volunteer you will receive an email like below. Click here to log in to your account with your password to access the check-in tool.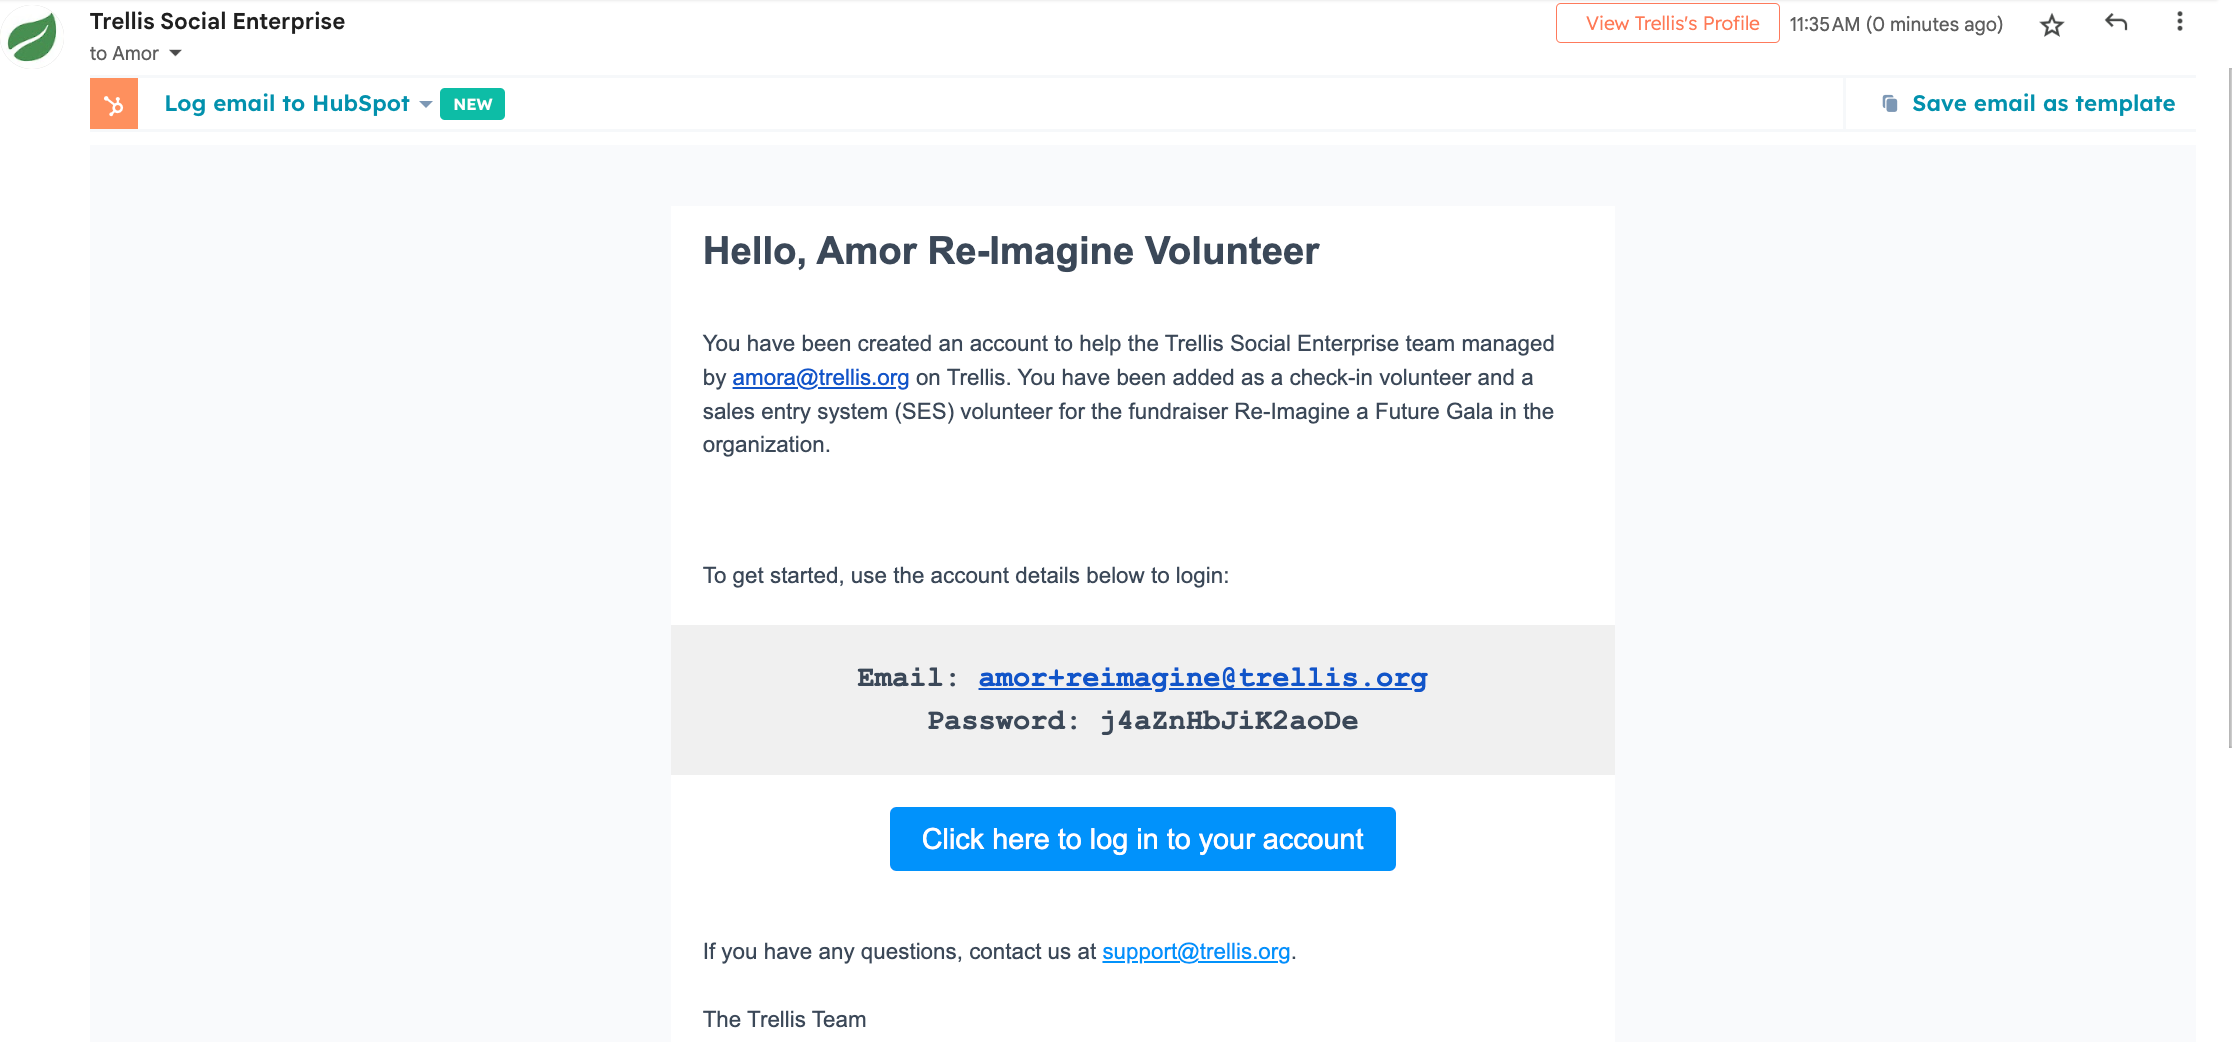
2. Sign in with your email and the password provided.

3. Select Check-in Tool and you will now see the attendee list for the Check-In Tool, and you’re ready to get started!

Click below to access your downloadable version of How to manage and use the Check-In Tool for your Events as the Organizer
Did this answer your question? If not, please feel free to contact us using that teal chat bubble on the lower right corner of your Trellis account dashboard.