Start a New Fundraiser
- From your Dashboard, click Create Fundraiser in the top-right corner.
- Select the fundraising tools you'll be using, such as Tickets, Auctions, or Donations. You can add or change these later.
![]()

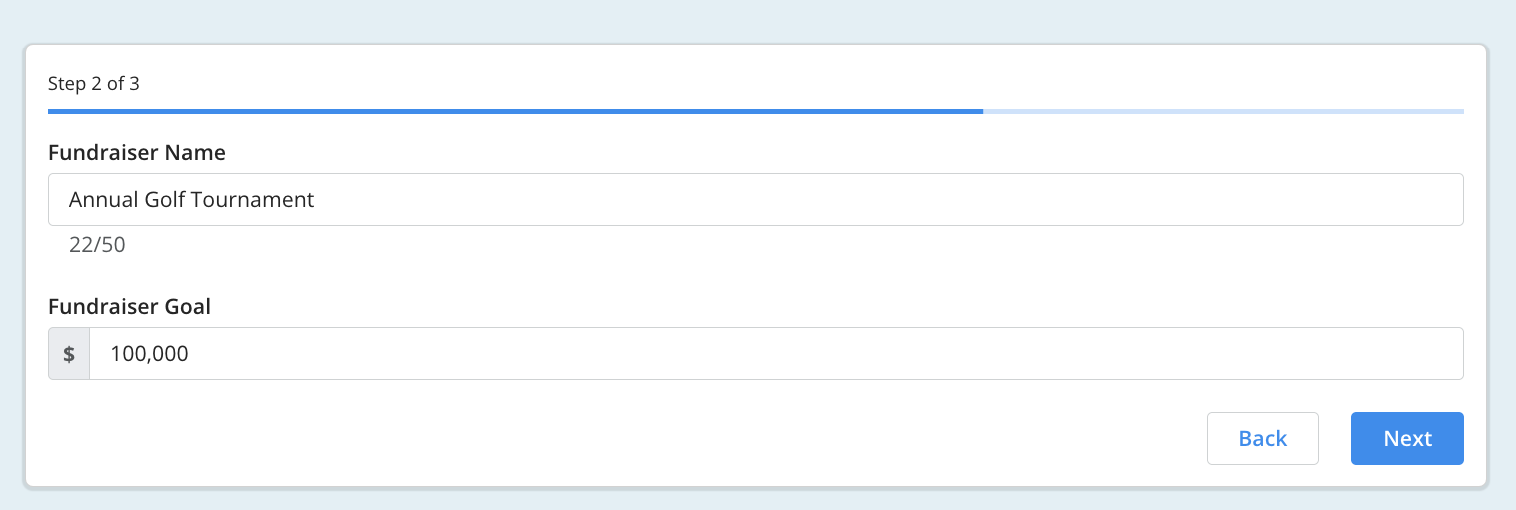
Set the Basics
- Enter your Fundraiser Name and Fundraising Goal. Both can be updated at any time.
- Select a Fundraiser Image — choose your own file or select one from the built-in photo gallery.
- Click Next to save and continue.

Pro Tip: Don't worry about getting everything perfect right away. Your fundraiser name, goal, and cover image can all be changed after creation.
Next Steps
Once your fundraiser is created, you'll be taken to the fundraiser builder where you can:
- Add ticket types
- Set up auctions or donation options
- Customize the look and feel of your page
- Add content sections to tell your story
- Configure visibility settings and launch your page
Please Note: Your fundraiser will not be visible to donors until you make it live.
Frequently Asked Questions
Can I change my fundraising goal after the fundraiser is created?
Yes, your fundraising goal can be updated at any time from your fundraiser settings.
Do I have to choose my fundraising tools when I first create my fundraiser?
No. You can select tools like tickets, auctions, or donations when creating your fundraiser, but you can also toggle them on or off later from the fundraiser builder.
What size should my cover image be?
This article goes over the best practices for images on Trellis, including sizing.
Related Articles
- How to Build and Design Your Page
- How to Set Up Your Event Tickets
- How to Set Up Your Silent Auction
- How to Set Up Donations
- How to Set Up Items for Sale
- How to Set Up Your Banking
Need Help?
Our team is here to support you! Click the teal chat bubble on the lower right corner of your Trellis dashboard or email us at support@trellis.org.